If you rely on a wheelchair every day, seating and positioning cushions are not “nice to have”—they are your foundation for comfort, skin protection, and confident mobility. I still remember the first time I swapped a client’s flat foam for a contoured, pressure-managing cushion. Within a week, their “two-hour ache” vanished, red marks calmed, and transfers felt safer. That kind of change is not magic; it is the result of a structured approach. And that is exactly what you are getting here: a friendly, practical guide that walks you through what to do before you buy, how to set up correctly, and how to confirm the fit is really working in your life.
Why does this matter so much? Industry data suggests more than half of daily wheelchair users report discomfort after prolonged sitting, and pressure injuries can develop in as little as one to two hours without adequate off-loading. Clinical guidelines note that smarter cushion selection reduces peak pressure on bony areas and helps manage shear forces that lead to skin breakdown. Plus, when you pair the right cushion with the right power chair, you upgrade energy, participation, and independence. That is where Go Wheelchairs shines—helping you match your needs with a wide range of standard and heavy-duty motorized wheelchairs, lightweight, foldable designs, and real guidance on insurance and Medicare from the Centers for Medicare & Medicaid Services (CMS) coverage. Ready to make every hour you sit feel better than the last?
Pre-work checklist
Before you even touch a tape measure, get clear on goals, medical needs, and the way you live day to day. The pre-work is where most of the wins happen, because once you know exactly what your body needs and how you move, the cushion options narrow fast. Spend a little time here and you will save money, avoid returns, and feel better sooner. As you go, remember that Go Wheelchairs offers personalized support, plus guidance on Medicare from the Centers for Medicare & Medicaid Services (CMS) and other insurance documentation, so you are not doing this alone. Think of this phase as your warm-up: build a picture, then buy with confidence.
- Define your top goal: maximize skin protection, improve posture, reduce pain, or boost stability during transfers. Rank them in order.
- Document any skin history: prior redness, stage I–IV pressure injuries, or areas that feel hot or numb after sitting. Note how long redness lasts after pressure is off.
- List diagnoses that affect sitting: spinal cord injury (SCI), stroke called cerebrovascular accident (CVA), multiple sclerosis (MS), Parkinson’s disease (PD), or arthritis. These shape cushion choice.
- Map your daily routine: how many hours you sit, how often you tilt or off-load, and where you sit outside the chair (desk, car, couch).
- Check your wheelchair basics: seat width, depth, and seat-to-floor height; backrest angle; armrest and footplate setup; drive base if it is a power chair.
- Note weight and changes: current weight in pounds (lb) or kilograms (kg) and whether it fluctuates. Cushion capacity matters for heavy-duty users.
- Measure the seat: width across the widest part of hips/thighs and depth from backrest to the popliteal fold behind the knee, then subtract 1 to 2 inches for clearance.
- Capture transport needs: will you fold the chair, travel by car, or fly often? Lighter cushions and waterproof covers may matter.
- Assess hand function: if you or a caregiver manage inflation or positioning, pick a system you can maintain reliably.
- Identify thermal comfort needs: if you run hot, look for breathable covers and moisture-wicking materials to manage microclimate.
- Prepare insurance details: policy numbers, physician contacts, and plan requirements for a letter of medical necessity called LMN (letter of medical necessity).
- Decide on supplier support: choose a partner like Go Wheelchairs that helps with Healthcare Common Procedure Coding System called HCPCS (Healthcare Common Procedure Coding System) codes and documentation.
Next, glance at the landscape. Foam, gel, air-cell, hybrid—each brings different strengths for stability, skin protection, and maintenance. Use this quick comparison to shortlist what fits your goals. Then you can test confidently with your clinician or vendor. If you have significant pelvic obliquity or windswept legs, plan to involve an occupational therapist called OT (occupational therapist) or physical therapist called PT (physical therapist) for contouring decisions.
| Cushion Type | Core Benefit | Best For | Pros | Watch-outs | Maintenance |
|---|---|---|---|---|---|
| Contoured Foam | Stable base and mild pressure distribution | Active users with intact skin needing posture support | Lightweight, affordable, low fuss | Can compress over time; less peak-pressure relief | Inspect foam yearly; replace as it bottoms out |
| Gel or Fluid | Immersion to spread pressure and add cooling feel | Users with bony prominences or heat discomfort | Good for shear and microclimate control | Heavier; fluid migration if not positioned right | Knead fluid packs; check for leaks |
| Air-Cell | Excellent immersion and envelopment | High risk of skin breakdown and asymmetries | Customizable feel; strong pressure relief | Requires inflation checks; puncture risk | Weekly pressure check; carry repair kit |
| Hybrid (Air + Foam/Gel) | Blend of stability and pressure management | Users needing both posture control and off-loading | Targeted relief under sit bones | More cost; setup is critical | Follow manufacturer inflation and care schedule |
| Honeycomb/Elastomer | Ventilation with flexible support | Those prioritizing airflow and easy cleaning | Breathable; water-friendly | May offer less deep immersion | Rinse and air-dry; inspect cells |
Since coverage is often the difference between wish list and reality, build your paperwork early. Go Wheelchairs helps you map requirements, coordinate physician notes, and navigate approvals so your cushion and chair support your life, not your inbox.
| Coverage Step | What It Means | Helpful Notes |
|---|---|---|
| HCPCS (Healthcare Common Procedure Coding System) Code | Billing category for your cushion | Codes vary by cushion type and complexity; confirm current code before ordering |
| LMN (letter of medical necessity) | Clinician justification for cushion features | Include diagnoses, skin risk, sitting hours, and failed alternatives |
| Face-to-Face Exam | Required visit documenting mobility needs | Some plans demand photos or risk scales like Braden (Braden Scale for Predicting Pressure Sore Risk) |
| Supplier Details | National Provider Identifier called NPI (National Provider Identifier), Medicare enrollment, assignment | Ask if the supplier accepts assignment to limit out-of-pocket costs |
| Prior Authorization | Plan approval before shipping | Times vary; Go Wheelchairs tracks status and updates you |
Mini story: A teacher I worked with wanted fewer pressure checks at work. We teamed an air-cell hybrid cushion with a lightweight, foldable power chair from Go Wheelchairs for easy car loading. Result? Better skin scores at three months and less fatigue during afternoon classes.
Execution checklist
With your shortlist ready, it is time to dial in sizing and setup. Think of this like tuning a musical instrument—small adjustments change everything. A great cushion on a misadjusted chair still feels mediocre. Use the steps below to nail the basics, then layer in fine-tuning. If you are configuring a motorized base, Go Wheelchairs can help match cushion thickness with seat-to-floor height so transfers, footrest clearance, and desk fit are all seamless, whether you choose a standard or heavy-duty model.
- Confirm seat width: allow light contact at the side without compressing soft tissue; aim for gentle lateral stability, not a squeeze.
- Set seat depth: leave about two finger widths between cushion front and the back of your knee to prevent pressure at the popliteal area.
- Level the base: correct any seat pan tilt you did not intend; slight posterior tilt can help posture, but too much promotes sacral sitting.
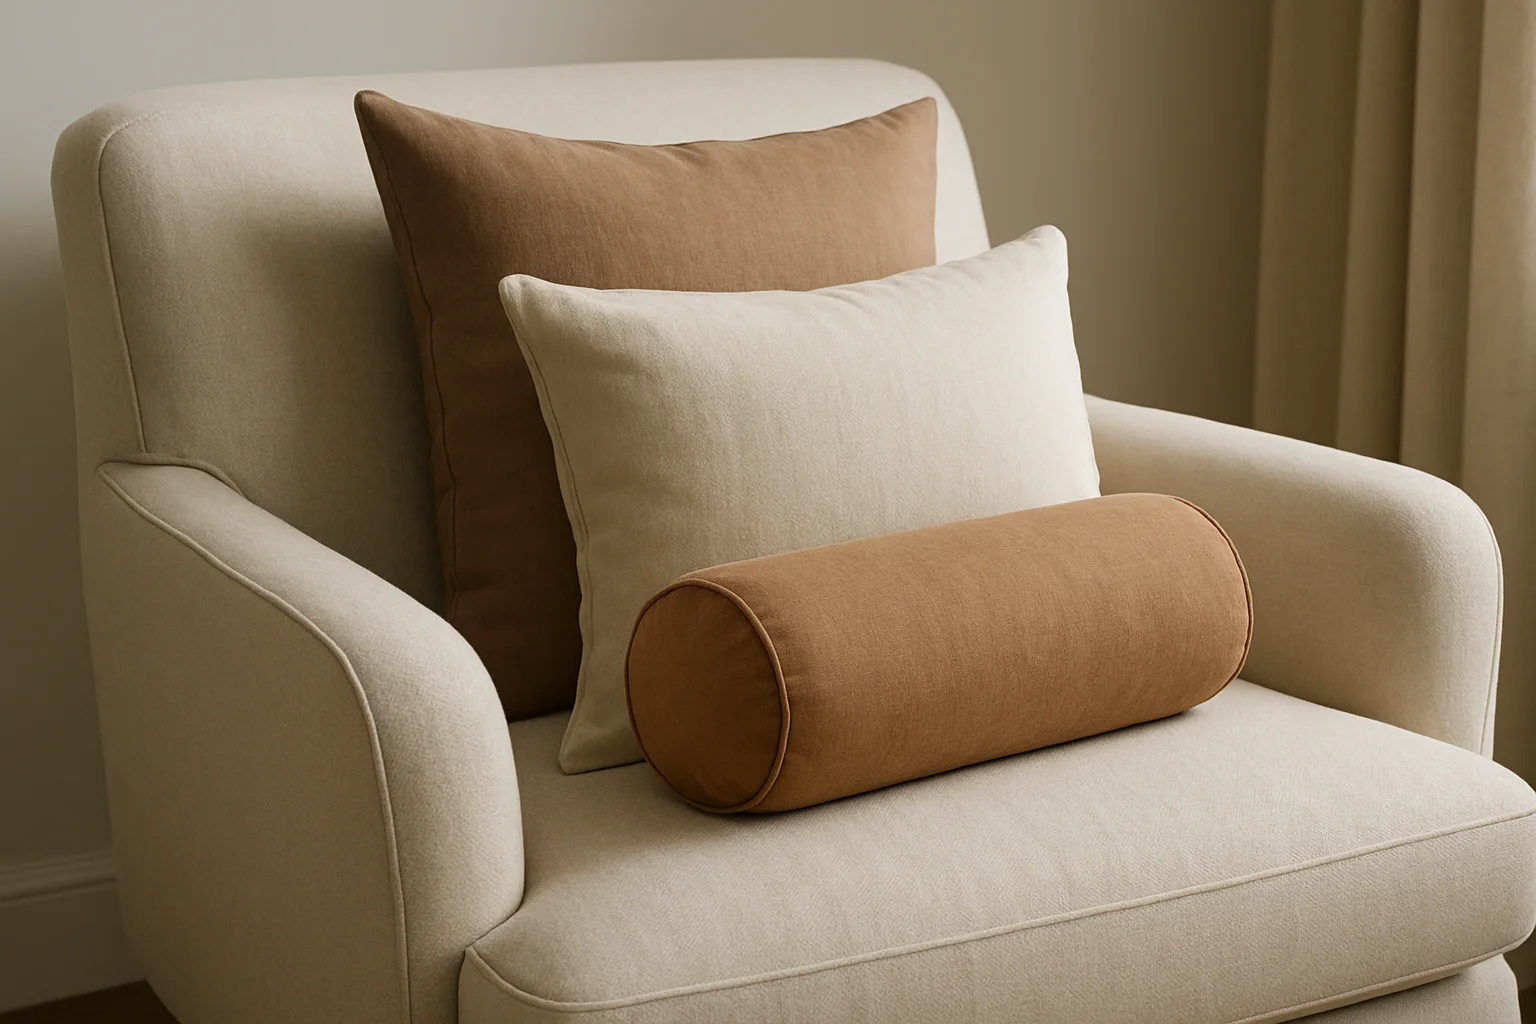
- Place the cushion in the correct orientation: most have front labels or arrows; flipping it invalidates the contour.
- Fit the cover properly: a loose or tight cover can defeat immersion and increase shear forces.
- Check pelvis first: feel for level hip bones and neutral pelvis; address obliquity or rotation with wedges or contoured bases.
- Inflate air cushions carefully: sit on the cushion, then release air until you can feel slight contact under the ischial tuberosities for immersion; re-check after 10 minutes.
- Dial in footrests: set height so thighs are well-supported without lifting off the cushion; ensure feet are planted and ankles are neutral.
- Set the backrest: adjust angle and height to support the trunk; too reclined increases shear, while too upright can cause sliding.
- Add pelvic positioning if needed: consider a well-placed belt to maintain neutral posture during movement and transfers.
- Test your daily activities: reach for shelves, type, propel, transfer, and drive; note any sliding, hotspots, or balance issues.
- Match cushion thickness to environment: verify clearance at tables, sinks, and vehicle transfers after adding cushion height.
- Plan a maintenance habit: schedule weekly checks for air pressure, fluid migration, or foam compression.
Pro tip: If you use a power wheelchair, pair tilt and recline features with your cushion’s off-loading strategy. For instance, tilt-in-space can reduce sacral pressure dramatically when combined with immersion. Go Wheelchairs’ team can show you how different standard and heavy-duty motorized wheelchairs interface with your chosen cushion so that pressure relief routines are fast, repeatable, and part of your day rather than a hassle. That way, your body gets what it needs and your schedule stays yours.
Validation checklist
This is where you prove the setup works. The best cushion is the one that helps you feel good at hour six, not just minute six. Treat the next few days like a friendly experiment. Gather quick data points, listen to your body, then tweak. You will move from “I think this is okay” to “I know this setup supports me.” If anything feels off, connect with a clinician and your Go Wheelchairs specialist to adjust or trial alternatives without starting from scratch.
- Do the 60-minute sit test: can you sit without fidgeting, burning, or sliding? Note exact spots that feel pressured.
- Check your skin after each trial: any redness that lasts longer than 20 to 30 minutes after pressure is relieved needs attention.
- Scan posture in a mirror: are shoulders level, pelvis neutral, and thighs supported? Look for leaning or rotation.
- Measure real-life fit: try transfers, curb cuts, doors, and desks; confirm you are not catching footplates or armrests.
- Assess stability under movement: reach forward and sideways; you should feel supported, not perched.
- Test microclimate: is the cover breathable enough for your environment? Check for sweat build-up on warm days.
- Evaluate maintenance load: are inflation checks or fluid kneading realistic for you or caregivers?
- Track fatigue: compare your energy at the end of the day to your baseline week; lower fatigue is a green flag.
- Re-check measurements after a week: foam can settle, air can shift, and your body adapts—fine-tune now.
- Document everything: jot notes for your physician and insurer; it helps with adjustments and justification.
| Home Test | Pass Criteria | Action if Not Met |
|---|---|---|
| Redness check | No lasting redness beyond 20 to 30 minutes | Increase immersion, adjust tilt schedule, or trial different material |
| Slide test | No sliding during turns, tilts, or reaching | Increase contour, adjust back angle, or add pelvic positioning |
| Comfort at hour six | Comfortable and focused on tasks, not your seat | Reassess stability and match to activity level |
| Maintenance reality | Care steps fit your routine and hand function | Switch to a lower-maintenance cushion or enlist caregiver plan |
Quick win story: James, a veteran who spends 10 hours daily in his power chair, struggled with tailbone pain by midafternoon. After switching to a hybrid cushion and setting a timed tilt schedule on his Go Wheelchairs heavy-duty model, his pain scores dropped, and he stopped skipping evening outings. Small changes—big outcomes.
Common misses

Even seasoned users and clinicians can overlook a few keys. Think of this section as your guardrails. If you see yourself in any item below, do not sweat it—just course-correct. Most fixes are fast and cost little or nothing. When in doubt, lean on Go Wheelchairs’ resources hub for buying guides, comparison tools, and travel tips, and loop in your OT (occupational therapist) or PT (physical therapist) for clinical questions.
- Buying by brand or buzz instead of body needs: prioritize your pressure and posture profile over marketing claims.
- Ignoring cushion thickness: a taller cushion may block desks or alter transfers; match height to your world.
- Skipping pelvic assessment: trunk and head issues often start at the pelvis; stabilize the base first.
- Under-inflating or over-inflating air cushions: both extremes increase risk; tune with you sitting on the cushion.
- Letting foam age out: foam fatigues slowly—if comfort fades or you bottom out, it is time to replace.
- Neglecting covers: a worn or slick cover increases shear; upgrade fabric if you run hot or slide.
- Forgetting travel realities: airport days and hot cars demand breathable, easy-clean materials.
- Overlooking weight capacity: heavy-duty users need cushions rated for their pounds (lb), with stable bases that will not taco under load.
- Assuming one cushion works everywhere: sometimes you need a home base cushion and a lighter travel option.
- Not leveraging coverage: many plans support advanced cushions with a strong LMN (letter of medical necessity)—do the paperwork.
- Pairing the right cushion with the wrong chair: if the base is unstable or the fit is off, even the best cushion struggles.
- Delaying re-fit after health changes: weight loss or gain, surgeries, or new spasticity change the equation—reassess quickly.
If you are unsure between two options, ask Go Wheelchairs for a side-by-side trial. The team can also walk you through how each cushion interfaces with their wide range of standard and heavy-duty motorized wheelchairs, including lightweight, foldable designs for easier rideshares and trunk loading. Choice is great—smart choice is better.
Conclusion + CTA
Pick the right seating and positioning cushions, set them up precisely, and validate with real-life tests—your body will thank you every hour you sit.
Imagine the next 12 months with steady comfort, calmer skin, and a chair-cushion combo that keeps up with travel, work, and weekend plans without second guesses.
What would you do with the extra energy and confidence once your seating and positioning cushions are dialed in perfectly?
Choose Comfort and Control with Go Wheelchairs
Explore seating and positioning cushions with Go Wheelchairs’ wide range of standard and heavy-duty motorized wheelchairs, plus guidance on Medicare and insurance, so you move confidently and independently.