If comfort, skin safety, and posture have ever stolen your focus, you are in the right place. The right seating and positioning cushions turn a wheelchair into a truly personal mobility tool, not just a seat on wheels. And because bodies, routines, and budgets all differ, a clear plan saves time, money, and frustration. Think of this as your friendly guide to feeling better in your chair, one smart step at a time.
Why does using a list matter so much? Because little details add up fast: one finger too much seat width, a belt set at the wrong angle, or a cushion that traps heat can undo otherwise great choices. Clinical reports and reviews note that pressure injuries are a common concern for full-time wheelchair users without appropriate seating, while microclimate control (heat and moisture) can help reduce that risk. A thoughtful process helps you stack the odds in your favor, day after day.
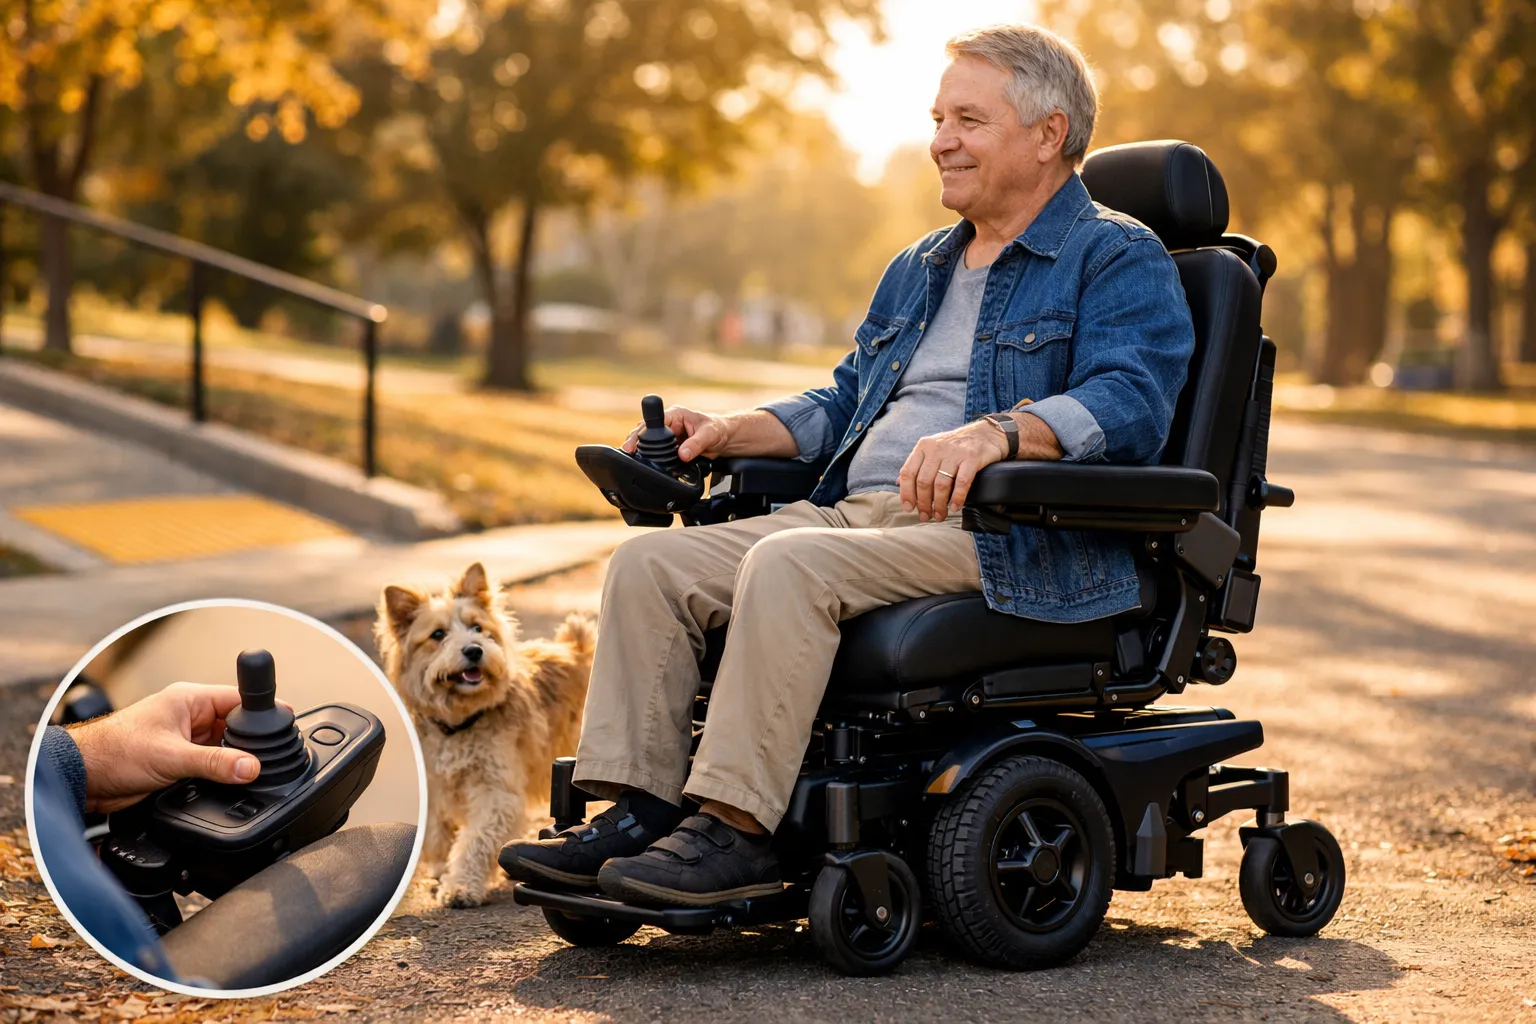
Along the way, you are not alone. Go Wheelchairs offers practical, human support—providing a curated selection of standard and heavy-duty motorized wheelchairs, travel-friendly lightweight designs, and guidance on insurance and Medicare coverage. I have seen customers breathe easier when a specialist listens, measures, and matches the right chair and cushion to real life. That confidence shows up in better posture, fewer skin scares, and more time doing what you love.
- Decide what you need your seating to do: comfort, pressure relief, posture, or all three.
- Gather accurate body and chair measurements before shopping.
- Compare cushion materials by pressure relief, stability, and maintenance.
- Fit and fine-tune in the real world—your home, work, and favorite hangouts.
- Validate results, document coverage, and plan easy maintenance.
Pre-work Checklist
Start with clarity and numbers. Your body, your routine, and your chair form a system, and seating choices should serve that system. Before you browse products or request coverage, anchor your plan with goals, measurements, and a picture of daily life. A little homework now can prevent months of discomfort later.
- State your primary goals in plain language. Do you want fewer red marks, better trunk stability, or less sliding? Rank them from most to least important.
- List current pain points. Note where it hurts, when it hurts, and what makes it better or worse. Include redness that lasts more than 20 minutes after offloading.
- Capture accurate measurements. Measure seat width, seat depth, back height, lower leg length, and seat-to-floor height with footwear you actually wear.
- Map your posture tendencies. Notice any leaning, pelvic obliquity (one side of the pelvis higher), posterior tilt, or sliding forward on the seat.
- Describe your routine. How many hours do you sit? Where do you sit? Do you transfer often, drive, work at a desk, or cook? Include climate (hot, humid, or dry).
- Assess pressure risk factors. Include weight changes, diabetes, reduced sensation, past pressure injuries, and medications that affect skin health.
- Audit your wheelchair features. Note if you use tilt-in-space, recline, seat elevation, or elevating legrests. These affect how the cushion performs.
- Check weight and capacity needs. If you need heavy-duty equipment, confirm cushion weight ratings to avoid bottoming out or foam collapse.
- Loop in your care team. Ask your Physical Therapist (PT) [Physical Therapist (PT)], Occupational Therapist (OT) [Occupational Therapist (OT)], and an Assistive Technology Professional (ATP) [Assistive Technology Professional (ATP)] to weigh in on posture, tone, and safety.
- Get coverage clarity. Make a quick call to your insurer to understand documentation requirements and whether a skin-protection or positioning cushion is covered as medically necessary.
To make measuring less intimidating, use the quick reference below. A flexible tape measure, a level app on your phone, and a friend’s help are often all you need. If numbers make you nervous, Go Wheelchairs can walk you through it and double-check your notes before you buy.
| Measurement | How to Capture | Target/Notes |
|---|---|---|
| Seat Width | Measure widest point of hips/thighs; add 0.5 to 1 inch for clothing | Snug without squeezing; avoid excess width that invites leaning |
| Seat Depth | Measure back of buttock to back of knee; subtract 1 to 2 inches | Support thighs without pressing behind knees |
| Lower Leg Length | From underside of thigh to sole with shoes on | Sets footplate height; aim for level thighs unless otherwise advised |
| Back Height | From seat base to desired shoulder or scapula level | Depends on trunk control; higher for stability, lower for mobility |
| Seat-to-Floor Height | From floor to top of cushion in the chair | Match transfer surfaces and desk heights; protect foot clearance |
| User Weight | Weigh with usual clothing/shoes | Confirm cushion and chair capacity; consider heavy-duty needs |
Different cushion materials behave differently under load, heat, and movement. Choosing with intent helps you balance stability and pressure relief. If you like an analogy, think footwear: running shoes, hiking boots, and dress shoes all “fit,” but each shapes how you move and feel.
| Material | Pressure Relief | Stability | Maintenance | Best For | Notes |
|---|---|---|---|---|---|
| Contoured Foam | Moderate | High | Low | Active users needing posture control | Lightweight, affordable; watch for long-term compression |
| Gel or Fluid Inserts | High | Moderate | Moderate | Bony prominences and skin-protection goals | Great at spreading load; may feel cool at first contact |
| Air Cells | High to Very High | Variable | Higher | Users with high skin risk, adjustable needs | Needs proper inflation checks; light and breathable |
| Hybrid (Foam + Air/Gel) | High | High | Moderate | Balanced relief with posture control | Popular middle ground; often pricier |
| Honeycomb/Elastomer | Moderate | Moderate | Low | Ventilation and easy cleaning | Good airflow; distinct feel that some love, others do not |
If you are unsure which route to take, shortlist two or three materials that match your goals, then plan a hands-on trial. Go Wheelchairs can help you compare and, when appropriate, coordinate trials that include your actual motorized wheelchair so you know exactly how it feels on the move.
Execution Checklist for Seating and Positioning Cushions
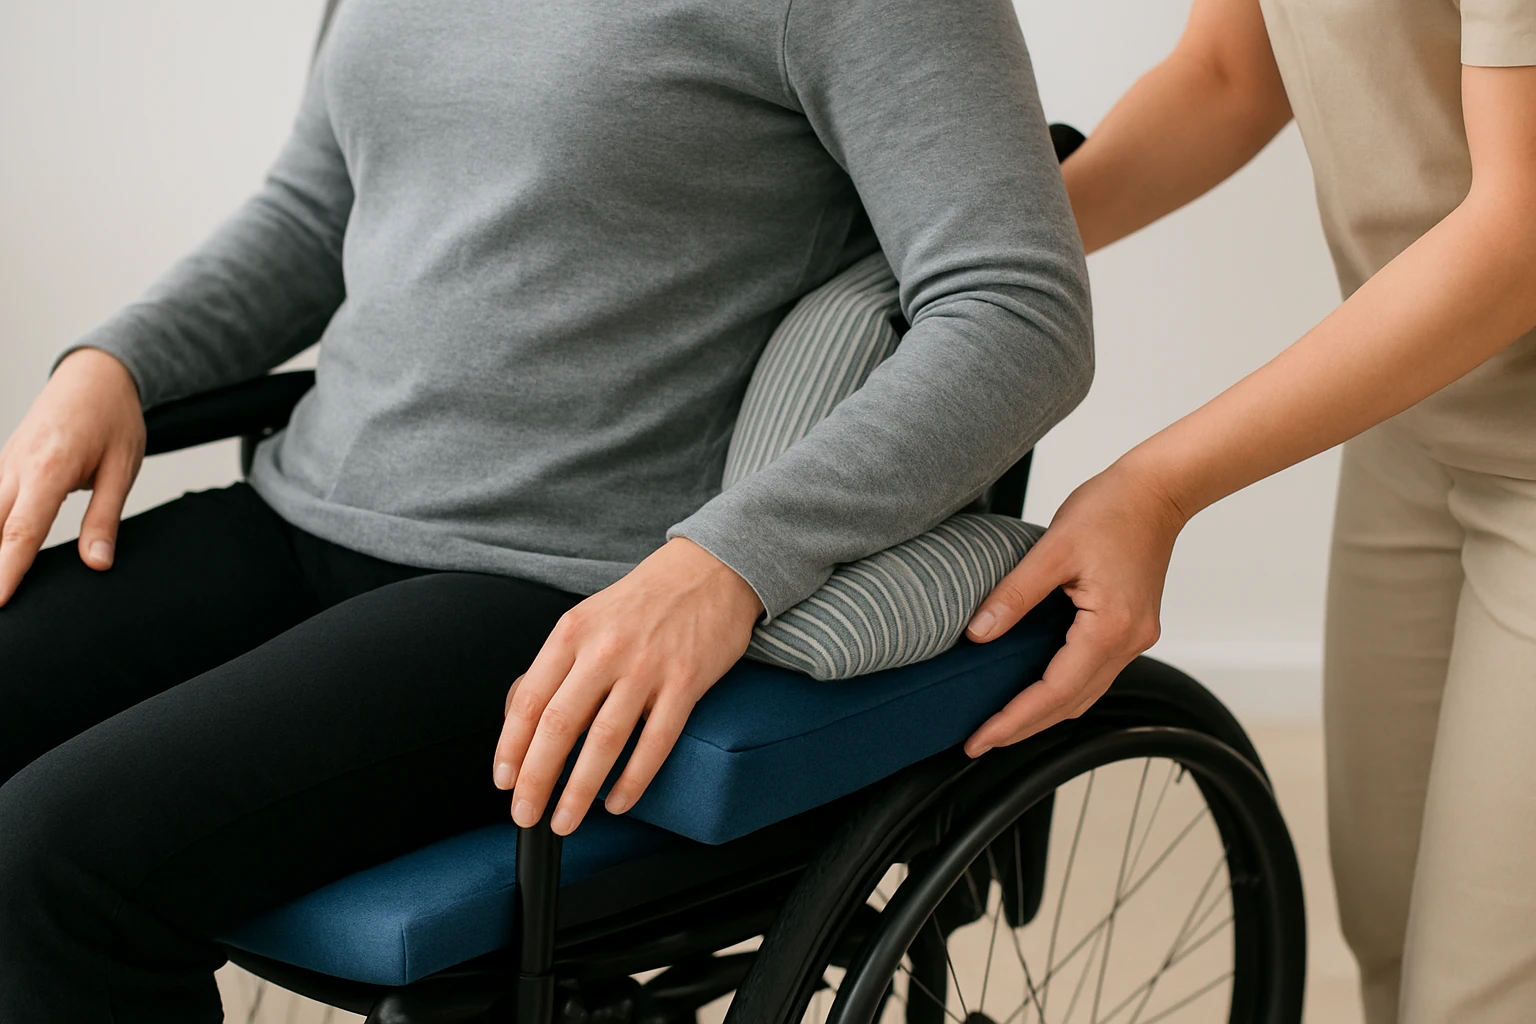
Now it is time to fit, adjust, and test. Your first sit should be supervised if possible, even by a friend who can spot small shifts or sliding. Use your normal clothing and shoes, and bring along anything you sit on regularly, like a coat or bag you keep under your legs in winter.
Watch This Helpful Video
To help you better understand seating and positioning cushions, we’ve included this informative video from Department of Disability and Aging. It provides valuable insights and visual demonstrations that complement the written content.
- Confirm size and orientation. Match cushion width/depth to your measurements; check front-back markers and make sure any ischial well is under the sitting bones.
- Level the seat base. If the seat pan sags, add a rigidizer so the cushion does what it is designed to do.
- Dial in footplate height. With feet supported, aim for relaxed thighs and open hips; adjust legrests so you are not pulled into a posterior pelvic tilt.
- Set pelvic belt angle. If you use a belt, start around a 45-degree angle to the pelvis to reduce sliding, then fine-tune for comfort and safety.
- Adjust backrest and laterals. Bring support to you, not the other way around; small nudges can tame leaning or trunk fatigue.
- Use the chair’s power features. Try tilt-in-space and recline in short bursts to relieve pressure; notice how the cushion behaves during and after.
- Test in real-life tasks. Drive, transfer, reach for shelves, and roll over thresholds; note any hotspots, numbness, or sliding after 15 to 30 minutes.
- Manage microclimate. Choose breathable covers and avoid plastic layers between you and the cushion unless clinically indicated.
- Set up maintenance reminders. If you use air cells, set a weekly phone alert to check inflation. For gel or foam, schedule cover washes and quick inspections.
- Label front/back and your name. It saves confusion at appointments, therapy, and travel.
Use targets, not guesses. The table below gives general ranges that many users find comfortable and functional. Your clinician’s advice takes priority, especially if you have unique orthopedic or neurological needs.
| Setting | Starting Range | What to Watch |
|---|---|---|
| Hip Angle | About 95 to 110 degrees | More flexion may reduce sliding; too much can cause discomfort |
| Knee Angle | About 90 to 100 degrees | Hammocking or pressure behind knees means adjust depth or footplates |
| Pelvic Belt | Aim near 45 degrees to pelvis | Should secure without digging; check after transfers |
| Seat-to-Back Angle | About 95 to 105 degrees | Open angle for breathing and balance; close slightly if sliding |
| Tilt-in-Space | Short tilts of 10 to 30 degrees | Use frequently; brief, regular tilts can beat rare, deep tilts |
One quick story: a customer named Lina kept sliding during grocery runs. We found her belt was nearly horizontal, her footplates too low, and her cushion oversized by an inch. By tightening those three variables, her daily slide vanished. Little adjustments, big wins.
Validation Checklist
Fitting day is not the finish line; it is the starting whistle. Real validation happens after meals, car rides, errands, and naps. Track what you feel, what you see on your skin, and how easy your day becomes. Simple notes today turn into strong evidence if you need coverage, repairs, or upgrades later.
- Do quick skin checks. Look at bony areas after 30 to 60 minutes; redness that lasts more than 20 minutes is a warning sign.
- Rate your comfort twice a day. A 0 to 10 scale helps you see trends; jot notes about what you were doing at the time.
- Time your pressure reliefs. If you have tilt or recline, set phone reminders and record what works best for you.
- Note posture and function. Are transfers smoother? Is driving straighter? Do you fatigue later in the day?
- Check maintenance rhythm. For air cushions, verify inflation weekly. For gel and foam, inspect covers and seams for wear.
- Document changes. New shoes, weight change, or a different coat can shift your setup; record the date and effect.
- Gather caregiver input. Ask what they notice about your posture, mood, or energy with the new setup.
- Schedule a 30-day follow-up. Bring your notes, photos of any red spots, and questions for your clinician or supplier.
| Timeframe | What to Check | Why It Matters |
|---|---|---|
| 24 Hours | Initial comfort, any immediate hotspots | Catch early issues before habits form |
| 1 Week | Skin, sliding, maintenance routine | Patterns emerge; tweak angles or inflation |
| 30 Days | Function gains, energy, pain trends | Evidence for coverage, repairs, or upgrades |
| 90 Days | Wear on cover, foam response | Plan replacements and protect warranties |
Case in point: Jamal, who drives a heavy-duty motorized chair, traded a flattened foam pad for a hybrid cushion with better thigh contouring. Within a week, his afternoon backaches eased. After 30 days, he was transferring with less help. His journal notes made the benefits obvious to his Physical Therapist (PT) [Physical Therapist (PT)] and to his insurer.
By the way, Go Wheelchairs can help you translate your notes into clean documentation for insurance or Medicare, and the team’s Resources Hub includes templates, buying guides, comparison tools, and travel tips. Less paperwork pain, more real-life comfort.
Common Misses
Even careful shoppers fall into classic traps. Knowing them up front turns potential detours into quick course corrections. If you spot yourself in any item below, do not stress—these are fixable.
- Choosing by thickness alone. A taller cushion is not automatically more protective; material and contour matter more.
- Ignoring pelvic position. Most posture problems start at the pelvis; secure it first, then fine-tune the trunk and head.
- Buying too wide. Extra width invites leaning and skin folds; measure and keep it close.
- Bottoming out. If you can feel the seat pan through the cushion, you need a different material, a rigidizer, or both.
- Forgetting microclimate. Hot and damp equals skin risk; pick breathable covers and consider air channels or mesh fabrics.
- Skipping a real-life test. A perfect clinic sit can turn sour at home; always try your daily tasks before you decide.
- Overlooking weight limits. Heavy-duty users need cushions rated for their load or performance will fade fast.
- Never checking inflation. Air cushions shine when tuned and stumble when neglected; set a weekly reminder.
- Washing covers on high heat. That can shrink fabric and warp fit; follow the tag and consider a spare cover.
- Not using chair features. Tilt and recline are pressure-relief superpowers; short and frequent beats rare and deep.
- Delaying help. If sliding or redness appears, ask your clinician and call Go Wheelchairs; small tweaks can prevent big problems.
Here is a reassuring perspective: clinical reviews often note that when people get the right combination of cushion and adjustments, they spend more time upright, feel safer, and report fewer pressure scares. Translation—optimizing the seat can lift your whole day.
Conclusion
Great seating pays you back in comfort, confidence, and skin protection you can feel.
Imagine the next 12 months with a cushion that hugs your shape, a chair that supports your routine, and a plan that keeps everything tuned. With the right partner and process, that picture is closer than you think.
What one small step will you take this week to move toward better seating and positioning cushions?
Elevate Comfort and Stability with Go Wheelchairs
Explore our curated selection of standard and heavy-duty motorized wheelchairs; Go Wheelchairs offers guidance on Medicare and insurance coverage so you can move forward with confidence, independence, and proper seating and positioning cushions.
Appendix: Handy Extras to Strengthen Your Choice
These optional steps can boost comfort and help with coverage. Tuck them into your process if time allows, or ask Go Wheelchairs to assist.
- Photo log your posture. Quick front and side photos in your usual clothing can reveal leaning or sliding patterns you might not feel.
- Track temperature and sweat. If summer heat worsens redness, note it; breathable covers or channelled cushions may solve it.
- Record transfer heights at home. Bed, sofa, toilet, and car all matter; matching seat-to-floor height can simplify life.
- Note terrain. Cobblestones, thresholds, and ramps can jostle posture; a slightly firmer or more contoured cushion may improve stability.
- Use the Go Wheelchairs Resources Hub. Compare options side-by-side, print a shopping worksheet, and browse travel tips for flying with your chair.
If you want a sanity check, Go Wheelchairs offers personalized support and guidance. The team can help you weigh trade-offs across cushion materials, confirm fit on lightweight foldable frames or heavy-duty motorized bases, and navigate insurance or Medicare requirements. Support today can prevent rework tomorrow.