
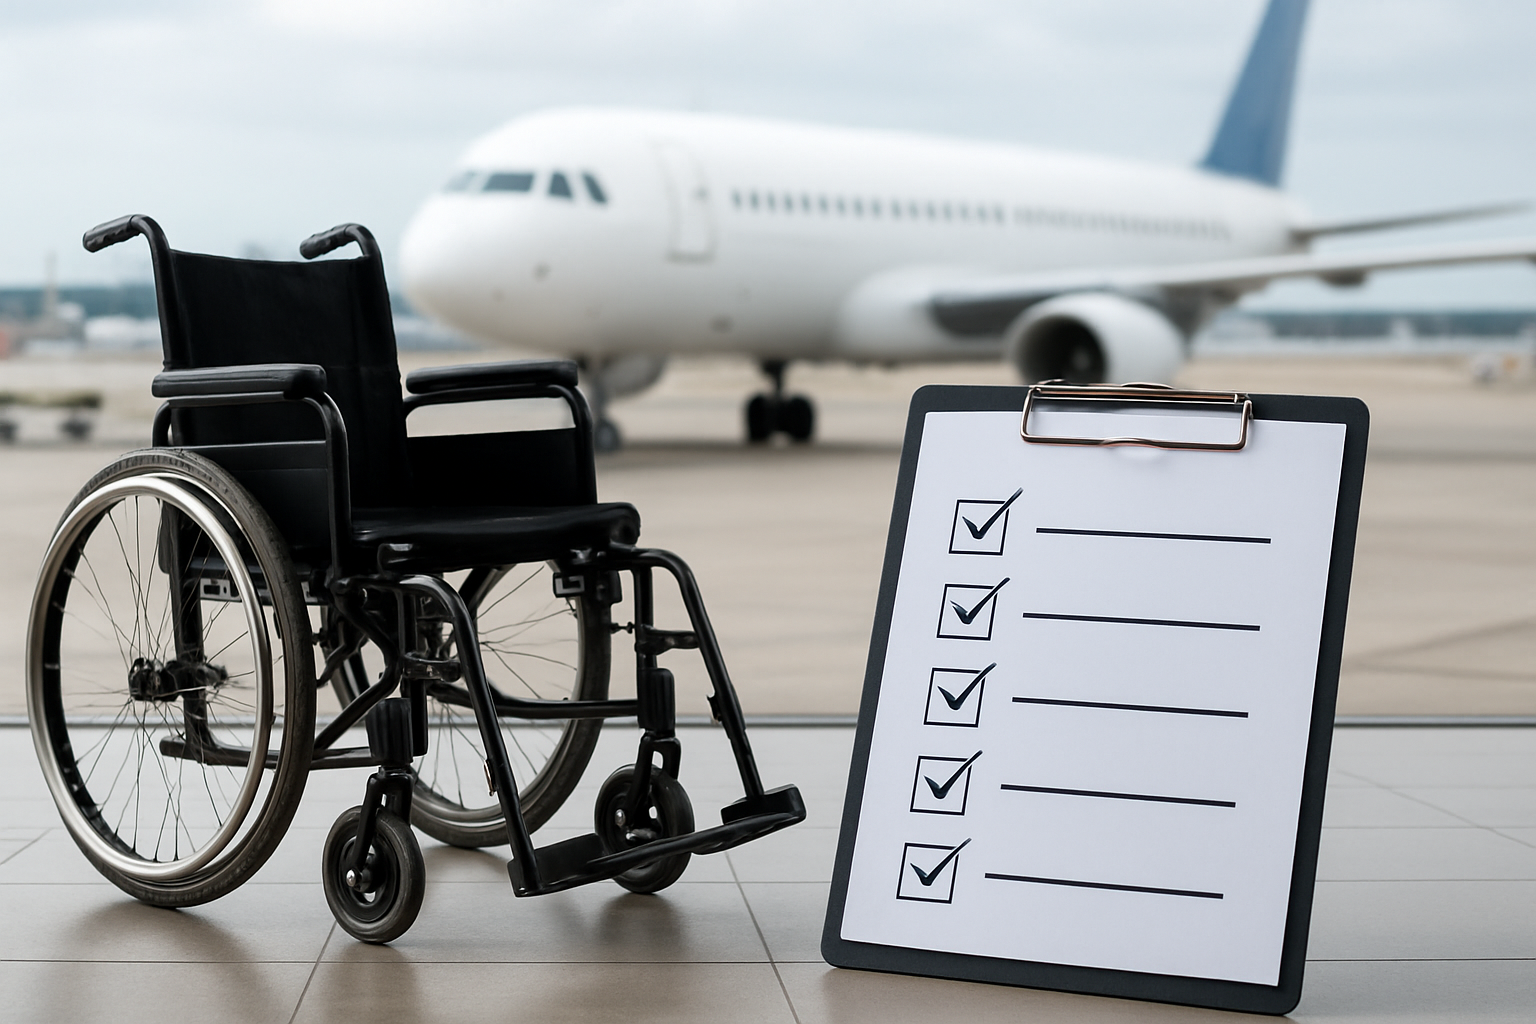
Wheelchair Travel and Packing Checklist: Airport-to-Destination Steps with Airline Battery Rules, TSA Tips & Medicare Paperwork
If you have ever packed for a trip and thought, “There has to be a better way,” this wheelchair travel and packing checklist was built for you. I have done the 4 a.m. airport shuffle, negotiated with gate agents about battery rules, and learned the hard way that one forgotten charging cable can turn a great trip into a scavenger hunt. You deserve smoother travel, so let’s walk through a practical, friendly system that covers airport-to-destination steps, airline battery policies, TSA [Transportation Security Administration] screening, and Medicare [Centers for Medicare & Medicaid Services] paperwork without the stress. Along the way, I will show how Go Wheelchairs provides planning guidance, coverage support, and personalized equipment recommendations for your itinerary.
Before we dive into the step-by-step lists, here is one helpful context nugget: DOT reports show airlines can mishandle some wheelchairs and scooters; that does not mean your chair will be harmed, but it does mean planning for protection, documentation, and communication can pay off in peace of mind. Ready to pack like a pro and glide from curb to hotel? Grab a pen, and let’s make your next departure day feel downright boring in the best possible way.
Your Wheelchair Travel and Packing Checklist: Build Your Base
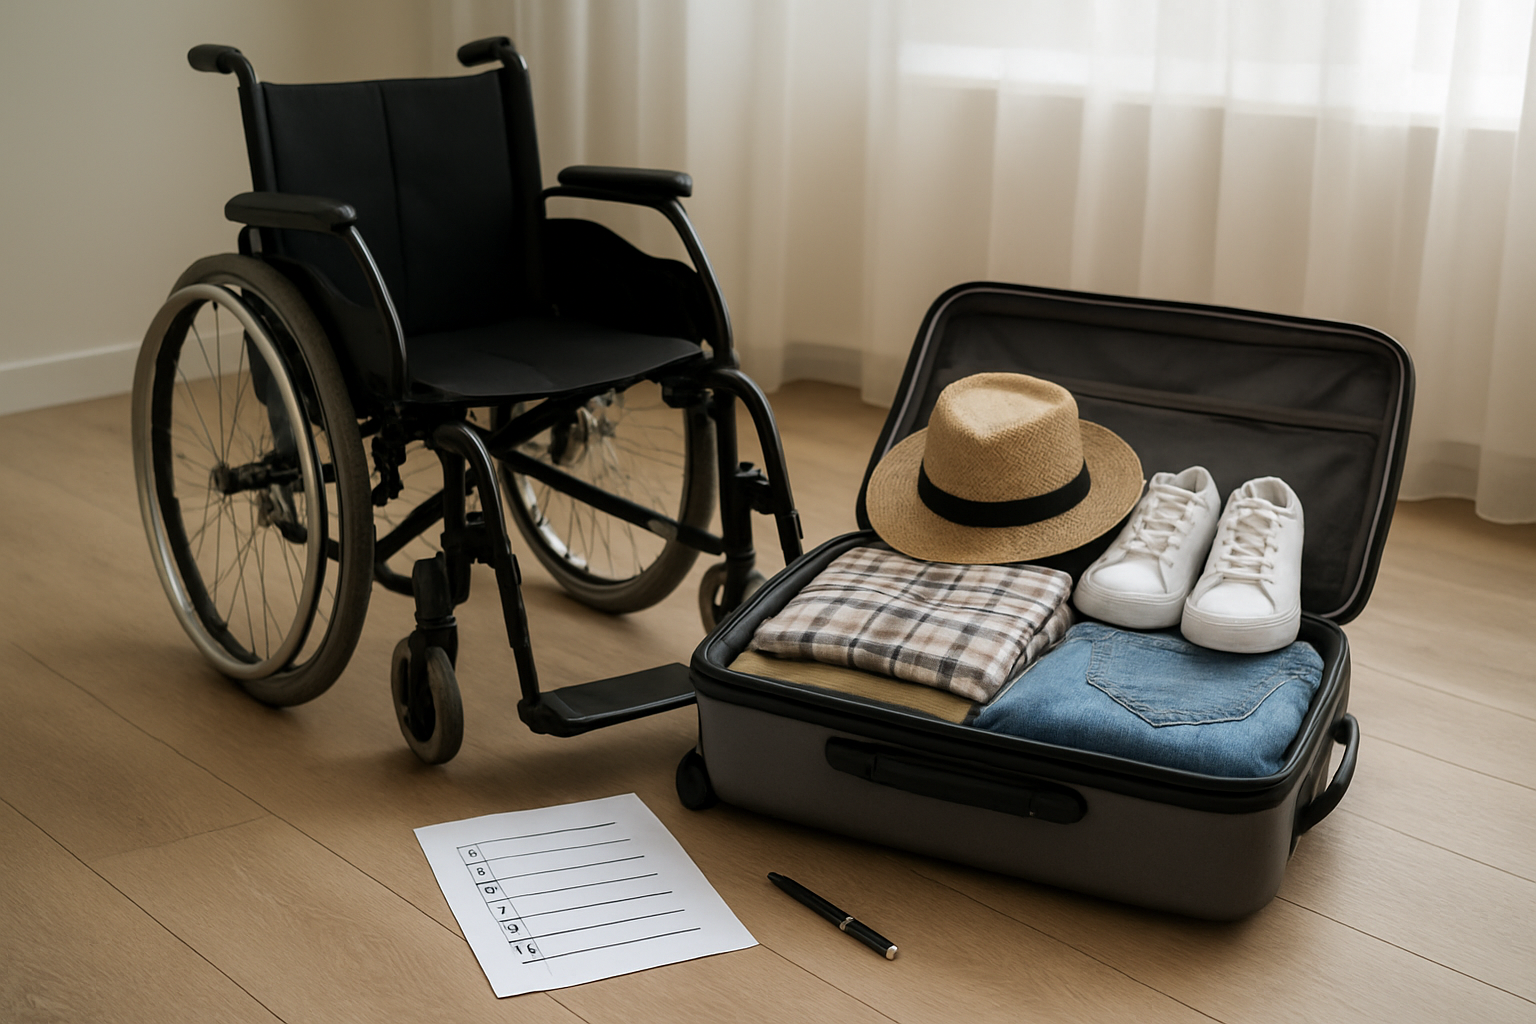
Think of this section as the master list you will copy, tweak, and reuse. The goal is to pack once and travel many times, with a repeatable routine that reduces decision fatigue. I like to keep a reusable checklist saved on my phone and printed on a half-page card; an ultra-simple habit that has saved me from a few near-meltdowns over missing joystick knobs and charger bricks. Below is your core list, organized so you can tick items off in minutes, not hours.
- Travel documents: ID, itinerary, confirmation numbers, medical documentation letter, Medicare [Centers for Medicare & Medicaid Services] or insurance cards, and emergency contacts.
- Wheelchair essentials: charger, power supply adapter, joystick/drive controller cover, spare fuses, basic tool kit, zip ties, Velcro, duct tape, tire repair kit, and rain cover.
- Battery info: battery type and specs label (Wh [watt-hour] or voltage/ampere-hour), airline battery rules printout, and battery safety data sheet if available (typically provided by the battery manufacturer; Go Wheelchairs can help locate or interpret it).
- Comfort and care: pressure cushion, spare cushion cover, transfer board or sling, gloves, lap blanket, and small pillow.
- Medical supplies: medications in original containers, syringes or sharps in a labeled travel pouch, wound care supplies, catheter kits, and doctor’s letter explaining items.
- Personal tech: phone, power bank, universal adapters, extension cord (short), and a multi-port USB [Universal Serial Bus] charger.
- Day-of-travel kit: snacks, collapsible bottle, sanitizing wipes, mask if needed, and a small pouch with earplugs and lip balm.
- Service dog items (if applicable): documentation, food, collapsible bowl, and cleanup bags.
Timing matters, so use this quick planning timeline to spread out tasks and avoid the late-night scramble. I have included who to call and what to confirm, because one five-minute call can prevent a two-hour hiccup. Pro tip: ask for email confirmations of accessibility requests so you have proof at the counter.
| When | Action | Details to Confirm |
|---|---|---|
| T-30 to 21 days | Contact airline special assistance desk | Aircraft type, door/cargo dimensions, aisle chair needs, gate delivery, storage location, and battery handling policy |
| T-14 to 10 days | Request TSA [Transportation Security Administration] Cares support | Call at least 72 hours before; arrange a passenger support specialist at your departure airport |
| T-7 days | Service your chair | Battery health, tire pressure, brake check, charger working; photograph chair fully assembled from multiple angles |
| T-3 days | Pack meds and essentials | Carry-on all critical items; ensure medication quantities cover an extra 2-3 days |
| T-24 hours | Reconfirm assistance | Early boarding, gate-check tags, and wheelchair gate delivery at arrival |
Where does Go Wheelchairs fit into the pre-trip prep? Their resources hub includes buying guides, comparison tools, and practical travel tips you can download or print. If you are still deciding between a lightweight, foldable model and a heavy-duty motorized chair, their advisors can compare real-world travel tradeoffs, help you confirm airline compatibility, and even guide you on insurance or Medicare [Centers for Medicare & Medicaid Services] coverage options. The right chair plus a reliable checklist is a confidence combo.
Airport Day, Step by Step: Curb to Gate to Seat
On travel morning, your two priorities are time and communication. Arrive a bit earlier than usual, and tell every staffer who touches your chair exactly how to handle it. I keep a simple instruction card taped to my chair with folding notes, brake info, battery type, and a “please do not lift here” diagram described in text. People appreciate clear directions, and your chair will thank you later.
Watch This Helpful Video
To help you better understand wheelchair travel and packing checklist, we’ve included this informative video from Travel Tips by Laurie. It provides valuable insights and visual demonstrations that complement the written content.
- Curbside to check-in: Ask for a mobility assistant if you want help. Confirm gate delivery for your own chair at arrival and request a gate delivery tag for both legs of a connecting trip.
- Check-in counter: State your battery type, provide handling instructions, and show your printed airline battery policy page. Get confirmation that your chair will be loaded last and unloaded first if possible.
- Security screening: Tell the TSA [Transportation Security Administration] officer you prefer a manual pat-down and a visual inspection of your equipment. Ask for a private screening room if desired.
- At the gate: Reconfirm early preboarding with the agent. Remove delicate parts (joystick, headrest, lightweight cushions) and carry them onto the plane.
- Boarding: If using an aisle chair, request a transfer team trained for your needs. Keep an essentials pouch within reach in the seat pocket.
- Arrival: Ask the flight attendant to notify ground crew that your chair should be brought to the jet bridge. Do not leave the aircraft until you see your chair at the door unless an elevator transfer is required.
- Damage check: Inspect your chair immediately. Photograph any issues and file a report before leaving the arrival area, citing the airline’s mobility device policy and the ACAA [Air Carrier Access Act] rules.
It helps to pre-plan who carries what. Here is a simple packing split I have used for years to balance convenience with risk management. Critical items never leave your person, and redundant backups live in a second bag.
| Carry-On With You | Carry-On In Companion Bag | Checked Luggage |
|---|---|---|
| Medications, battery documentation, charger, joystick, cushion, doctor’s letter | Tool kit, spare fuses, rain cover, transfer aids, small first-aid kit | Bulk supplies, extra clothing, duplicates of non-critical items |
| Phone, power bank, ID, airline policy printouts, snacks | Extension cord, universal adapter, extra cables | Non-urgent backups, larger toiletries |
Quick reality check: even with perfect prep, surprises happen. That is why Go Wheelchairs suggests travelers bring a short “chair instruction card” and a “what to do if” note that lists local repair shops at your destination. Their team can help you identify service options for both standard and heavy-duty models, and if you purchased through them, they can provide serial numbers and manufacturer support contacts in one email you can store offline.
Airline Battery Rules, Simplified for Real Trips
Battery rules can feel like alphabet soup until you map them to your chair. Most airlines follow FAA [Federal Aviation Administration] and IATA [International Air Transport Association] guidance, but each carrier’s page is the rule you will show at check-in. The key variables are battery chemistry, whether the battery is installed or removable, and the Wh [watt-hour] rating for lithium-ion packs. If you do not see a Wh [watt-hour] label, your wheelchair manufacturer or seller (Go Wheelchairs can help here) can convert voltage and ampere-hour data to Wh [watt-hour] for you.
| Battery Type | Typical Airline Rule (Always Verify) | Carry-On or Checked | Notes |
|---|---|---|---|
| Lithium-ion (installed) | Allowed if securely attached and protected from activation | Chair goes in hold; you remain in cabin | Provide Wh [watt-hour] rating; pack controller off/locked; protect terminals |
| Lithium-ion (removable) | Up to 300 Wh [watt-hour]; or two spares up to 160 Wh [watt-hour] each | Spare batteries in cabin only | Terminals taped/covered; place each battery in a protective case or strong bag |
| Non-spillable Gel/AGM [Absorbed Glass Mat] | Generally allowed installed; remove only if required by design | Chair in hold; spares typically carry-on | Insulate terminals; bring manufacturer note if available |
| Spillable Wet Cell | Permitted with special handling and upright orientation | Usually hold with strict packaging | Call airline special assistance 48 to 72 hours ahead for instructions |
To make boarding day easy, prep a one-page “battery kit”: a copy of your airline’s mobility device policy, a photo of the battery label, your Wh [watt-hour] figure, and a short note like, “Battery is lithium-ion 251 Wh [watt-hour], installed and protected; controller off; terminals shrouded.” Crew members are juggling dozens of tasks; the more you make it simple to say “yes,” the faster you get rolling. If you are still choosing a chair, Go Wheelchairs can steer you toward airline-friendly designs, including lightweight, foldable models with clearly labeled battery ratings.
TSA [Transportation Security Administration] Screening Tips, Tools, and Scripts
Security screening should be thorough, not theatrical. You can absolutely ask for accommodations that respect your body and your equipment. I like to rehearse a quick script in case the line is busy: “Hi, I use a motorized wheelchair and cannot stand. I request a manual pat-down, visual inspection of the chair, and a private room if needed.” The TSA [Transportation Security Administration] officer will not be surprised, and you set the tone right away.
- Call TSA [Transportation Security Administration] Cares at least 72 hours before travel to arrange assistance and ask about your airport’s flow.
- Use the disability notification card to discreetly share medical details if you prefer fewer words in public.
- Ask officers to avoid moving or lifting the chair by armrests, joystick, or footplates. Point to safe frame points instead.
- Keep medications and sensitive supplies in a separate, easy-open pouch for visual inspection.
- If a swab test is performed on your chair, confirm that the officer will use clean gloves and swabs to prevent contamination.
| Topic | What To Say | What To Expect |
|---|---|---|
| Pat-down request | “I prefer a manual pat-down and a visual inspection of my wheelchair.” | An officer of the same gender will conduct the pat-down; you may request a private room |
| Medication handling | “Please visually inspect these medications; they must remain with me.” | Medications may be screened but should not be opened unless necessary |
| Chair protection | “Please avoid lifting here and here; use the main frame points marked on this card.” | Officers will swab or visually inspect the chair; you can stay seated |
One more tip: consider traveling with a short extension cord and a compact power strip in your carry-on. Airports sometimes have outlets placed awkwardly, and it is easier to charge your device from the gate than to ration battery power. Many Go Wheelchairs clients keep a tiny “security pouch” with swab-friendly wipes, battery documentation, and a laminated instruction card—small prep, big payoff.
Medicare [Centers for Medicare & Medicaid Services] and Insurance Paperwork Essentials
Even if your trip is pure vacation, paperwork pulls real weight during travel. A simple doctor’s letter can smooth screening, help with airline requests, and help if you need a rental chair or repairs at your destination. When equipment or supplies are involved, bring copies—even digital ones stored offline—so you are never stuck waiting for a clinic to open across time zones. Think of this as your “paper toolkit” that travels as lightly as your phone.
- Government ID, insurance card, and Medicare [Centers for Medicare & Medicaid Services] card.
- Doctor’s letter describing your diagnosis, mobility needs, and a list of necessary devices and supplies.
- Prescription copies for medications, catheters, and wound care supplies.
- Wheelchair make, model, serial number, and battery specs (Wh [watt-hour], chemistry).
- Supplier contacts and after-hours numbers (if purchased through Go Wheelchairs, they can provide a consolidated support email).
- Travel insurance policy details, including coverage for mobility device damage or delay.
For those managing coverage questions, these HCPCS [Healthcare Common Procedure Coding System] codes and terms can be useful shorthand when speaking with providers or rental shops. Codes vary by model and payer, so treat this as a starting point, not a final answer. Go Wheelchairs advisors routinely help customers decode coverage and coordinate with plans for both standard and heavy-duty motorized options.
| Item | Example HCPCS [Healthcare Common Procedure Coding System] Codes | Notes |
|---|---|---|
| Power wheelchair (groups 2–4) | K0825–K0864 (varies by drive, seating, and performance) | Model-specific; documentation of medical necessity required |
| Manual wheelchair | K0001–K0009 | Depends on weight rating and adjustability |
| Batteries/chargers | E2361–E2367 (accessories, including batteries/chargers) | Coverage differs; bring invoices and part numbers |
| Cushions/positioning | E2601–E2624 | Pressure relief cushions often require justification |
If you need help gathering documents, ask your care team to email PDFs that you can save locally on your phone. Better yet, schedule a short call with Go Wheelchairs; they will review the checklist with you, point out any missing pieces, and share a sample “medical necessity” letter template you can take to your clinician. This blend of personalized guidance and practical tools is exactly how travelers turn a stack of papers into a stress reducer.
At Your Destination: Transfers, Repairs, and a Smooth Return
Your first 24 hours set the tone, so run a quick “arrival audit” of your room, transit routes, and charging options. I start by checking the outlet situation and the floor clearance around the bed, because a charger that will not reach or a bed that is too low can be a bigger hassle than any museum ticket line. Five minutes of scouting beats five hours of improvising. Here is the short arrival checklist I lean on.
- Inspect your chair for damage, odd noises, or loose parts after the first ride from the airport.
- Choose a nightly charging spot with ventilation and no tripping hazards; avoid daisy-chaining power strips.
- Test room access: door width, thresholds, bathroom turning space, and shower or roll-in clearance.
- Map nearby curb cuts, ramps, and elevator locations using satellite and street views in your maps app.
- Save contacts for a local wheelchair repair shop and your chair’s seller (if purchased through Go Wheelchairs, they can provide your seller contact).
If you are traveling with a group, nominate a “gear buddy” who knows how to remove and reattach your joystick, footplates, and cushion. Teach three quick rules: always lift by the frame, never by the armrests, and double-check brakes during transfers. Planning to hop between cobblestones and parks? Ask Go Wheelchairs about heavy-duty motorized models with higher weight capacities and robust tires, or lightweight, foldable designs that slip into a car trunk for day trips. Matching the chair to the terrain keeps your energy for the fun parts of the day.
When it is time to head home, recreate your airport routine. Confirm gate delivery, pull your instruction card back out, and set your essentials pouch on top of your carry-on so nothing gets buried. If anything went wrong on the outbound trip, politely remind the team of the airline policy page you printed and the ACAA [Air Carrier Access Act] protections. A calm nudge plus a clear document often works wonders.
Quick Reference: Common Questions and Fast Answers
Sometimes you just need a yes-or-no to make a decision. This table consolidates frequent questions I get from readers and clients. It is not a substitute for checking your specific airline’s policy, but it will help you decide what to print, pack, or ask at the counter. Keep it in your travel folder next to your boarding pass and battery note.
| Question | Short Answer | Follow-Up Tip |
|---|---|---|
| Can I bring a lithium-ion battery? | Yes, with FAA [Federal Aviation Administration] and airline limits | Show Wh [watt-hour] rating and keep spares in the cabin |
| Will TSA [Transportation Security Administration] swab my chair? | Often, yes | Request clean gloves and a visual inspection; you can stay seated |
| Do I need a doctor’s letter? | Not always required, but recommended | Saves time at security and helps with airline requests |
| What if my chair is damaged? | File a report immediately | Photograph damage, reference ACAA [Air Carrier Access Act], and get a written claim number |
| Can I preboard? | Typically yes | Request at booking and reconfirm at the gate for aisle chair setup |
One last nudge before we close: protect your time by labeling and photographing your setup. Snap pictures of cable routing, joystick angle, headrest placement, and footplate height—those photos turn a five-minute reassembly into a 30-second “match the picture” game. If you are still evaluating your next chair, Go Wheelchairs can recommend models with travel-friendly battery labeling and frames that are easier for ground crews to handle, including a wide range of standard and heavy-duty motorized wheelchairs with clear, airline-ready documentation.
Case Study: The “Rainy Connection” Save
A quick story to make this all feel human. A traveler I worked with had a tight connection in a rainy hub airport, and the gate team insisted on storing the chair on its side to fit a crowded hold. Because he carried a one-page “how to handle my chair” card with photos and the battery note, the agent called the ramp crew, relayed the safe lift points, and used a spare plastic cover to protect the joystick. Ten minutes later, the plane pushed back without drama, and the chair rolled off dry and intact at the next stop.
Two ingredients made the difference: preparation and documentation. He had the airline policy page printed, the Wh [watt-hour] figure highlighted, and his chair’s serial number saved to his phone. That made it easy for staff to say “yes,” and easier still to fix problems if any had popped up. This is exactly the mindset Go Wheelchairs coaches: do the simple stuff early so travel day feels light, even when the weather does not cooperate.
Before we wrap, here is a final mini checklist you can screenshot and use as your last look before rolling out the door.
- Chair charged, charger packed, battery documentation printed.
- Delicate parts removed at the gate and carried on board.
- TSA [Transportation Security Administration] Cares arranged, doctor’s letter ready, meds accessible.
- Airline special assistance reconfirmed, gate delivery tag attached.
- Photos of the chair from all sides, serial number noted, and repair contacts saved.
From checklists to advocacy, the real goal is freedom. Go Wheelchairs backs that up with the right equipment for your itinerary—lightweight, foldable designs for easy transfers, or a wide range of standard and heavy-duty motorized wheelchairs when durability and power matter most. Add their personalized support and insurance or Medicare [Centers for Medicare & Medicaid Services] guidance and documentation assistance, and your travel plan is not just possible, it is practical.
That is the promise of this guide: a clear, friendly wheelchair travel and packing checklist that works in real life, with steps you can follow from airport curb to your final destination. Imagine never scrambling for a charger again, or having the perfect one-page battery brief ready before anyone asks. In the next 12 months, what new places could you say yes to if travel prep felt this organized and calm? Which part of your own routine will you upgrade first?
Additional Resources
Explore these authoritative resources to dive deeper into wheelchair travel and packing checklist.
Travel Smarter With Go Wheelchairs
Plan trips confidently with Go Wheelchairs’ wide range of standard and heavy-duty motorized wheelchairs, personalized guidance, and insurance & Medicare guidance and documentation support to move forward with independence.