
Are You Overlooking These Wheelchair Travel Checklists? 10 Flight-Proof Steps for Batteries, Insurance & Carry Cases
Flying with a power chair gets much easier when your wheelchair travel checklists are crystal clear, realistic, and tested in the real world. I still remember the first time I tagged my joystick with a bright note and a friendly instruction sheet; the baggage crew thanked me, and my chair rolled off in perfect shape. Airlines sometimes mishandle mobility devices each year, according to United States Department of Transportation (DOT) reports, and the difference between stress and smooth often comes down to preparation. The good news is you can stack the odds in your favor with simple systems, practical carry cases, and a little help from experts who do this every day.
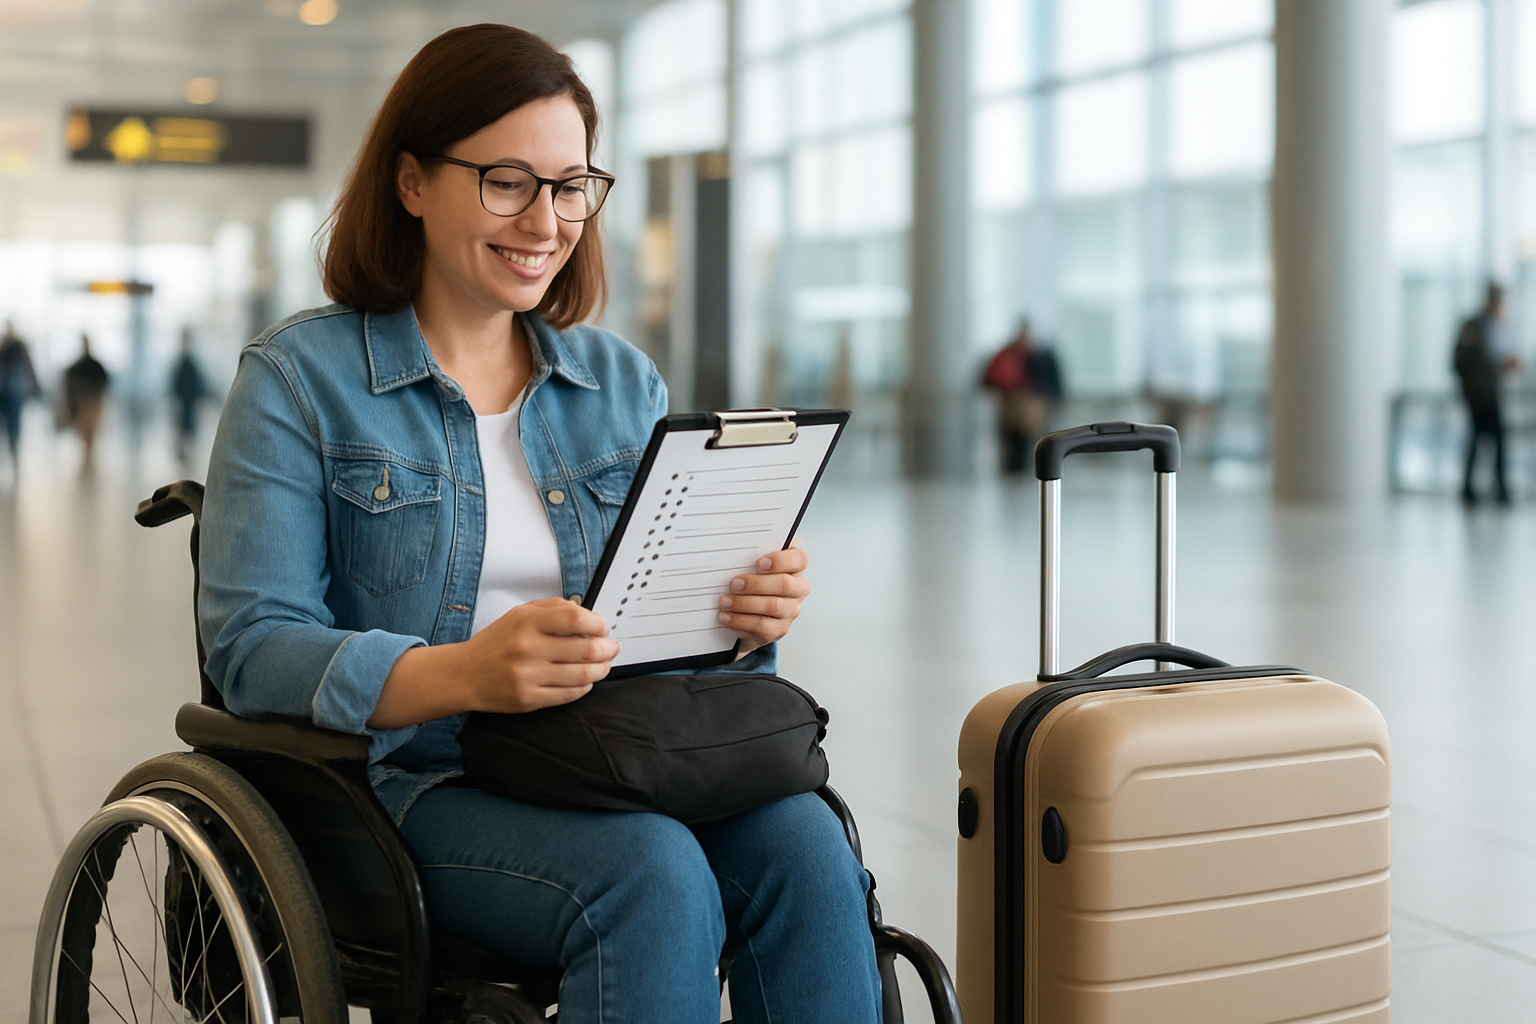
Your 10 Flight-Proof Wheelchair Travel Checklists
Think of this section like your preflight ritual, the step-by-step list you can reuse and refine every trip until it becomes second nature. I like to keep these steps saved in my phone’s notes app and printed on one page in my carry-on, because when a gate agent asks for battery details or tie-down points, you will look prepared and calm. Below you will find the 10 essentials that cover batteries, documentation, protective carry cases, and what to say at the gate, along with a few traveler-tested tips that save minutes when minutes matter. Use the list as-is, or copy, paste, and personalize it for your chair, your favorite airline, and the destinations you love to visit without compromise.
- Measure and print your chair specs. Record make, model, overall weight, dimensions, and folded size if applicable. Include photos of tie-down points and removable parts. Keep a one-page “Mobility Device Information Sheet” with your name, phone, and flight numbers in both paper and phone versions.
- Calculate battery watt-hours. For lithium-ion batteries, use the formula watt-hours [Wh] = volts x ampere-hours [Ah]. Add both batteries if your chair uses two in series or parallel. Note chemistry (sealed lead-acid, gel, absorbed glass mat [AGM], or lithium-ion) and print a Safety Data Sheet [SDS] if available. If you need a copy of a battery spec sheet or SDS, request it from Go Wheelchairs and we will provide manufacturer documentation where available.
- Call the airline’s special assistance desk. Share your chair’s weight, dimensions, and battery type. Ask how they prefer to label the chair, whether they have an oversized elevator at arrival, and when to arrive at the gate for pre-boarding. Confirm gate-check tagging and where your chair will be returned.
- Pre-label removable parts. Tag joystick, headrest, footplates, side guards, cushions, and charger with “Remove and carry-on” or “Leave attached.” Use soft cases, padded sleeves, or bubble wrap. Consider a hard joystick carry case (available from third-party retailers) — it can be worth its weight in saved nerves; ask us if you’d like sourcing suggestions.
- Pack the essential toolkit. Include hex keys, small adjustable wrench, duct tape, painter’s tape for instructions, and zip ties. For items such as terminal caps, voltage adapters, surge‑protected travel plugs meeting International Electrotechnical Commission (IEC) standards, spare joystick knobs, and charger fuses, obtain these from third‑party retailers or your equipment supplier — Go Wheelchairs can advise on which items are appropriate for your specific model.
- Print your rights and support numbers. Put the airline’s special assistance number, the airport’s wheelchair services desk, and the on-call Complaint Resolution Official [CRO] contact on a card. Add relevant laws like the Air Carrier Access Act [ACAA] and your airline’s mobility device policy link.
- Get repair and loaner backup. Ask your supplier about emergency repairs at your destination and whether a temporary loaner is available if your chair is delayed or damaged. Save the nearest service center’s phone and address to your itinerary.
- Organize insurance and Medicare files. Keep coverage cards, a physician’s letter, purchase or serial documentation, and recent repair invoices. If you use Durable Medical Equipment [DME] coverage, note your plan’s rules for travel mishaps and out‑of‑network providers.
- Rehearse the hand-off script. A friendly, confident script smooths the gate-check moment: “This is a 220-pound power chair with sealed batteries. Please roll it in freewheel using these marked points and avoid lifting by the armrests.” Short, specific, and helpful wins.
- Arrive early and pre-board. Give yourself extra time for Transportation Security Administration [TSA] screening, gate-tagging, and elevator logistics. Pre-boarding lets you brief the crew, confirm return-of-chair at aircraft door, and apply your protective covers without a rush.
Battery Rules, Watt-Hours, and Airline Calls: What To Do 14, 7, and 3 Days Out
Batteries are the heart of air travel planning for power chairs, and a tiny bit of math prevents big headaches later. Most airlines follow International Air Transport Association [IATA] and Federal Aviation Administration [FAA] guidance that treats sealed non-spillable batteries differently from lithium-ion, with lithium-ion rules keyed to watt-hours and whether the battery is installed. As a general reference, many carriers allow lithium-ion mobility devices with batteries up to 300 watt-hours installed and commonly permit up to two spare batteries not exceeding 160 watt-hours each, but your specific airline has the final say. The timeline below stays conservative: you make the first contact two weeks out, document everything one week out, and lock final details at three days out so the gate team is ready and you are confident.
Watch This Helpful Video
To help you better understand wheelchair travel checklists, we’ve included this informative video from Squirmy and Grubs. It provides valuable insights and visual demonstrations that complement the written content.
- 14 days out: Call the airline’s accessibility desk to disclose weight, dimensions, and battery chemistry; request written confirmation by email.
- 7 days out: Take photos of battery labels, calculate watt-hours [Wh], and print your Safety Data Sheet [SDS] if available. Prepare instruction tags describing freewheel mode and tie-down points.
- 3 days out: Reconfirm with the airline that your chair is noted on the reservation with correct battery type. Ask for gate-return of your chair on arrival and verify elevator availability at the destination jet bridge.
| Battery Type | Typical Airline Handling | Common Limits | Notes |
|---|---|---|---|
| Sealed lead-acid or gel | Treated as non-spillable; usually left installed and secured | Terminals must be protected; device switched off | Mark power switch and freewheel; use terminal covers or tape if requested |
| Absorbed glass mat [AGM] | Handled like other non-spillable sealed batteries | Terminals insulated; chair secured to prevent movement | Bring printed spec sheet if label is hard to read |
| Lithium-ion | Often allowed installed up to 300 watt-hours; spare batteries in cabin | Commonly two spares up to 160 watt-hours each | Print watt-hour calculation and battery label photo for quick verification |
Two pro tips make this section work in your favor even on a busy morning. First, print and tape a simple battery note to the frame near the power switch, such as “Lithium-ion battery 295 watt-hours installed; no spares,” which answers the ramp agent’s first question before it is asked. Second, add a high-contrast “Do Not Lift Here” sticker near armrests and footrests, and a “Lift or push here” arrow at the frame points you prefer, then reiterate the same in your instruction sheet so everything matches and there is no guesswork at the bottom of the jet bridge when time is tight.
Insurance, Medicare, and Repair Plans: Paperwork You Will Actually Use
Paperwork can feel like the least exciting part of travel, yet it is exactly what unlocks rapid fixes when something goes sideways. Airlines must repair or replace damaged mobility devices under the Air Carrier Access Act [ACAA], but your documentation shortens the timeline and gets you back on the move faster. Keep photos of your chair taken at drop-off and arrival, serial number, recent repair invoices, supplier contact, and your plan’s Durable Medical Equipment [DME] coverage details together in a lightweight folder and in a cloud folder on your phone. If you use Medicare or private insurance, a physician’s letter describing medical necessity plus proof of purchase can help coordinate a loaner if repairs require parts, which is especially useful if you are mid-trip and juggling events, family visits, or business meetings.
| Document | Who Issues It | Why It Matters | Where to Store |
|---|---|---|---|
| Coverage card (Medicare or private) | Insurer | Confirms eligibility and DME benefits for repairs or loaners | Wallet plus a photo in your phone |
| Physician’s letter of medical necessity | Clinician | Supports urgent repair or temporary replacement if needed | Printed copy and cloud folder |
| Purchase details and serial number | Supplier | Identifies model for parts and verifies ownership | Travel folder and note on your phone |
| Recent repair invoices | Service provider | Speeds diagnosis and proves pre‑existing condition vs travel damage | Cloud folder for quick sharing |
| Battery specification sheet or Safety Data Sheet [SDS] | Manufacturer | Verifies chemistry and watt-hours for airline review | Printed with boarding pass |
Here is a simple way to try this before you fly: pretend you just landed and need a repair in a new city, then time how quickly you can open your folder, find the serial number, and call a service center. If that takes more than 90 seconds, tighten your system by renaming files and adding a one-page summary at the front. For an extra layer of confidence, ask your supplier to note recommended repair depots at your destination; then, if an airport agent needs to coordinate a temporary loaner, you have everything at hand and can reference it calmly while they bring over the Complaint Resolution Official [CRO] for faster escalation when necessary.
Carry Cases, Tool Kits, and Tagging: Protect Every Part of Your Power Chair
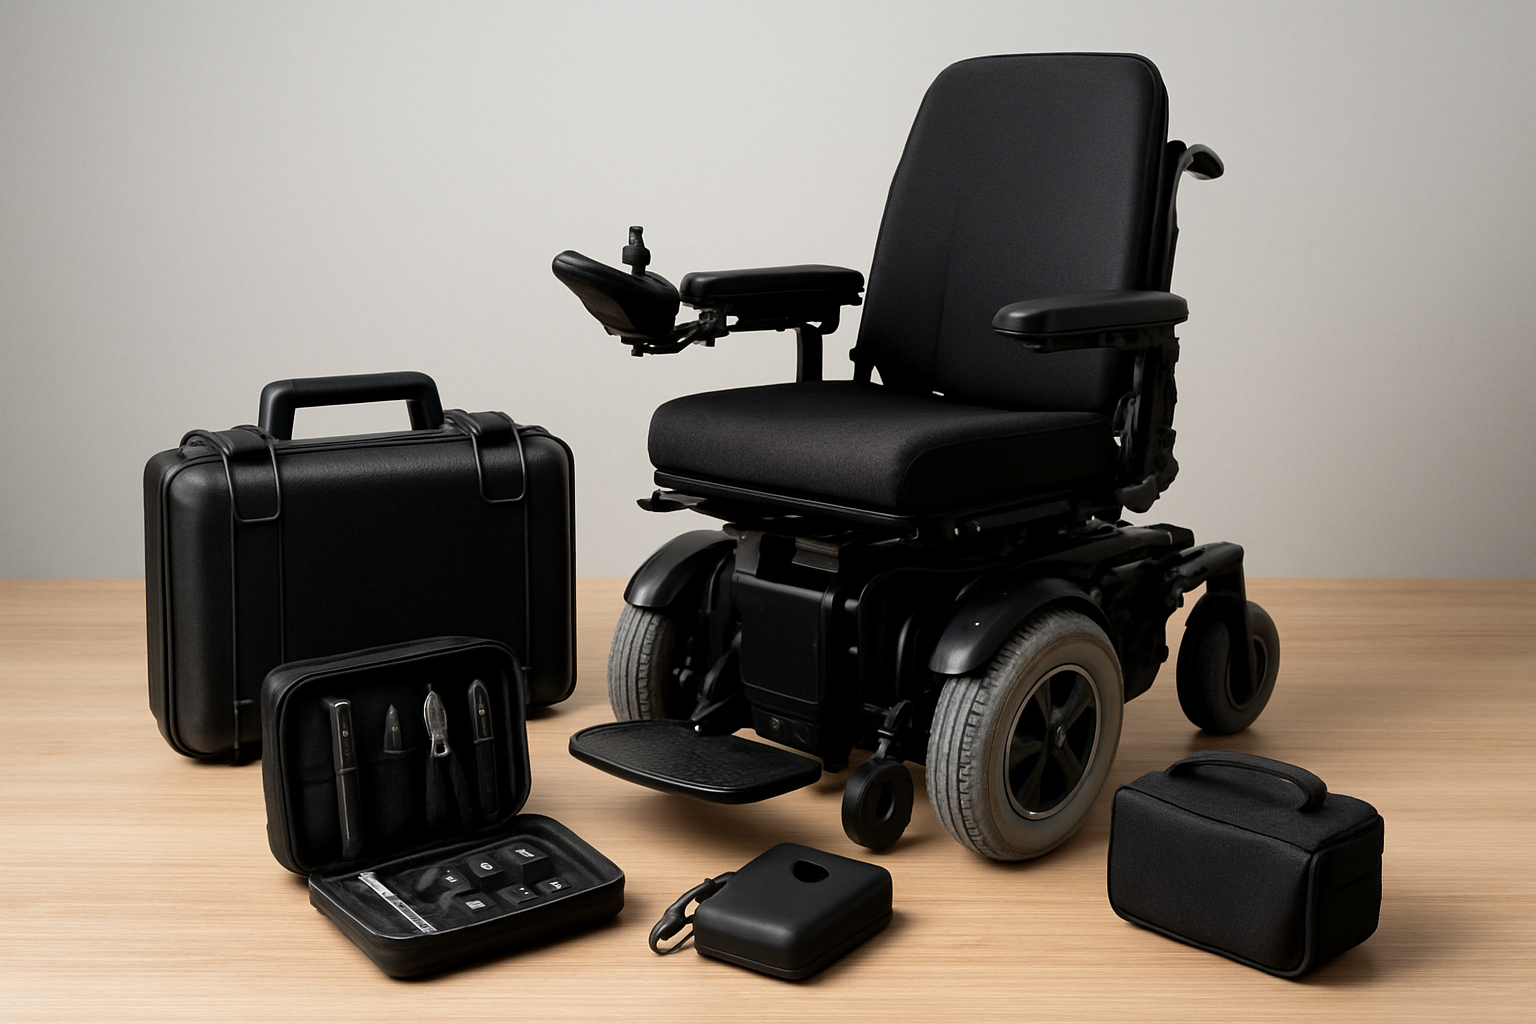
Good protection is like bubble wrap for your peace of mind, especially for joysticks, headrests, and footplates that can snag on belt loaders. Think of your chair as a carry-on with zones: cockpit (joystick and control module), cabin (armrests and cushion), and cargo (base, wheel hubs, and anti-tippers), then build a simple kit for each zone. I like soft neoprene sleeves for the joystick and headrest, a padded envelope for the charger, and painter’s tape for gentle instructions on plastic covers and switches that crews can see at a glance. These accessories are typically available from third-party retailers or your equipment supplier; ask Go Wheelchairs if you want help finding appropriate options. If you have a folding power chair, a lightweight travel bag helps minimize scuffs and gives the crew handy lift points, and if you use a heavy-duty motorized chair, labeling freewheel levers and adding short straps for tie-down makes movement safer without inviting improvised lifting by delicate parts.
- Joystick and display: soft sleeve or hard case (purchase separately), plus a “Do Not Lift” sticker near controls.
- Headrest and cushion: remove and carry-on if easily detachable; otherwise pad and tape gently.
- Footplates and side guards: remove or wrap; secure with zip ties through designated holes only.
- Chargers and adapters: pack in carry-on; confirm plug and voltage for destination outlets.
- Frame and hubs: mark safe push points; add short tie-down straps where crews can grab.
| Component | Protection Method | Spare or Tool | Why It Helps |
|---|---|---|---|
| Joystick/control module | Hard carry case or padded sleeve | Spare knob, silicone cover (recommended — obtain from third-party retailers) | Prevents cracks and accidental activation |
| Headrest and cushion | Remove and carry-on, or foam wrap | Extra cushion cover (optional — purchase separately) | Keeps comfort items clean and undamaged |
| Footplates/leg rests | Bubble wrap plus zip tie at hinge | Zip ties, small wrench (obtain separately) | Stops flapping and bending in transit |
| Battery terminals | Terminal caps or insulating tape | Painter’s tape roll (recommended to source separately) | Meets crew safety requirements when requested |
| Frame and wheels | Tie-down straps and “Push Here” labels | Short nylon straps (available from third-party suppliers) | Directs safe handling away from fragile areas |
One more little trick that pays big dividends: print a one-page, large-font instruction sheet titled “How to Move This Chair Safely,” tape it under clear plastic to the seat back, and include three bullets only. Bullet one says how to turn power off, bullet two shows the freewheel levers with arrows, and bullet three says where to push or lift. People help best when your instructions are obvious and consistent with your labels, and this tiny step is often the difference between a smooth roll down the ramp and a five-minute huddle while the clock ticks and you are waiting in the aisle seat.
Airport Day: Security, Gate-Check, and Hand-Off Scripts That Work
Day-of logistics can feel like a sprint, so a repeatable routine will keep your pace steady and your voice calm. Arrive early for Transportation Security Administration [TSA] screening and ask for a private screening if you prefer, then give the screener a quick heads-up about sensitive areas and any implanted devices. At the gate, introduce yourself to the agent with a smile, ask about pre-boarding, and place your instruction sheet on the chair where the ramp team will see it; if the conversation stalls, ask to speak with the Complaint Resolution Official [CRO] to clarify procedures under the Air Carrier Access Act [ACAA]. Keep your carry cases close, use pre-boarding to remove small parts, and do a quick once-over so you do not forget the charger tucked under your jacket.
- Security: request manual pat-down if needed; ask before swabbing electronics; keep tool kit in a clear pouch.
- Gate-tag: verify “Return to Aircraft Door” is checked; confirm arrival airport elevator access and timing.
- Hand-off: use your script, point to freewheel levers, and confirm tie-down straps are visible.
- Boarding: pre-board to reduce rush; keep your chair in view as long as safe and practical.
- Arrival: stay seated until you see your chair roll to the door; politely request the CRO if delays stretch.
Here is a sample script you can use and tweak: “Hi, this is my mobility device, a 220-pound power wheelchair with a sealed battery. Please roll it in freewheel using the levers marked in red and avoid lifting by the armrests or joystick. I have a one-page instruction sheet here, and I would appreciate returning the chair to the jet bridge on arrival.” Clear, friendly, factual, and easy to follow, with everything a ramp agent needs to do their best work under pressure.
If Damage Happens: Fast Claims, Temporary Loaners, and Repair Pathways
Even with the best prep, things occasionally go wrong, so a calm, stepwise plan keeps you in control. If your chair looks off at the aircraft door, photograph it before moving, test power and freewheel, and immediately ask for the Complaint Resolution Official [CRO] if anything seems damaged, missing, or stuck. File the airline damage report before leaving the airport, get the representative’s name, and ask for a written plan that covers temporary mobility, timelines for repair or replacement, and who pays for transportation or deliveries while you wait. Then call your supplier with serial number and photos to coordinate estimates, and keep a brief log of calls, names, and times in your phone so everything is documented from the start.
- Take photos and short video at the jet bridge before the chair moves.
- Request a courtesy wheelchair now and a temporary loaner power chair if repair is not same-day.
- Ask for written confirmation of repair responsibility under the Air Carrier Access Act [ACAA].
- Share serial number, model, and parts list with your supplier for fast estimates and ordering.
- If resolve stalls, file a disability-related air travel complaint with the United States Department of Transportation [DOT].
Most cases resolve faster when you present a clear solution path: “Here are the parts likely needed, here is my supplier’s contact, and here is where to deliver the temporary loaner,” which turns a vague promise into a playbook everyone can follow. This is where your preparation pays off again, because the same one-page spec sheet and photos that helped the ramp crew also help the claims team say yes to sensible fixes, and that is the shortest path back to independence on your trip.
Why Go Wheelchairs Makes Travel Smoother
When you want reliable travel, the chair you start with matters as much as the checklist you carry. Go Wheelchairs curates a wide range of standard and heavy-duty motorized wheelchairs, and our team helps you choose models that fit airline hold dimensions, detachable components, and battery rules without forcing you into compromises you do not want. For travelers who prefer light and quick, our lightweight, foldable wheelchair designs make gate-check handoffs simpler, and for those who need rugged power, our heavy-duty options include clearly labeled tie-down points and travel-friendly features that reduce handling risks. We created a Resources hub with buying guides, comparison tools, printable travel checklists, and practical tips you can hand to ramp crews, because clarity is kindness when time is tight.
Most importantly, we know many people are balancing budgets and coverage rules, so we offer personalized support and guidance plus insurance and Medicare assistance to help you align your Durable Medical Equipment [DME] benefits with the chair you want and the trips you are planning. We have helped countless travelers gather the right documents, calculate watt-hours [Wh] in plain language, and print labeled instruction sheets that turn a complicated process into a friendly conversation. Individuals with mobility challenges often struggle to find affordable, dependable wheelchair solutions that fit their lifestyle and coverage needs, and Go Wheelchairs addresses these challenges by offering a variety of motorized wheelchairs, personalized support, and guidance on insurance and Medicare coverage—ensuring customers can move forward with confidence and independence. If your next adventure is calling, we are ready to help you answer with a chair and a checklist built to fly.
Quick Reference Tables You Can Print
Before you close this tab, save or print these two mini-guides so your future self can skip the scramble. A two-minute review the night before the flight will remind you which labels to reapply, where your instruction sheet lives, and whom to call if something changes. Pin the first table inside your carry case lid for instant access, and tuck the second right into your travel folder with your boarding pass so it is handy at the gate. Tiny habits like these build big travel confidence, especially when combined with the right chair and a support team that knows air travel from both the passenger and crew perspectives.
| When | Task | Proof or Printout |
|---|---|---|
| 14 days before | Call airline; disclose chair specs and battery type | Email confirmation saved to phone |
| 7 days before | Calculate watt-hours [Wh]; prepare labels and instruction sheet | Battery photo, SDS, one-page “How to Move This Chair” |
| 3 days before | Reconfirm reservation notes; verify gate-return at arrival | Agent’s name, time, and note in itinerary |
| Scenario | What You Say | Why It Works |
|---|---|---|
| Initial hand-off | “This is a power chair with a sealed battery. Freewheel levers are marked red; please push here on the frame, not the armrests.” | Specific, visible, and kind keeps everyone aligned |
| Return at arrival | “Thank you for returning my chair to the jet bridge. I will test power and brakes before leaving.” | Sets expectations and protects your rights calmly |
| Damage concern | “I need to file a mobility device damage report and speak with the Complaint Resolution Official [CRO], please.” | Triggers required process without confrontation |
If you want a simpler starting point, download a blank “Mobility Device Information Sheet” template from the Go Wheelchairs Resources hub, then drop in your photos, serial number, and battery details. The first version might take ten minutes; the second version will take three, and every flight after that will feel less like a mystery and more like a routine. That is the magic of checklists: they help you spend less energy on the process and more on the fun parts, like picking the best window seat and planning your first snack at the destination.
Final Takeaways Before You Fly
Wheelchair air travel gets simpler when you combine smart labeling, battery math, friendly scripts, and a chair built with travel in mind. Choose tools that do double duty, like a padded joystick case (available separately) that also stores your instruction sheet, and keep a repair plan in your back pocket just in case. Lean on experts who speak airline, insurance, and mobility fluently, so your paperwork and your packing list feel like teamwork instead of a solo project. When you feel ready and your chair is ready, the gate is just another doorway to a place you want to be.
One-sentence recap: You can fly confidently when batteries, insurance, and carry cases are checked off in a clear, reusable system. Imagine your next trip starting with a smooth hand-off, a friendly nod from the ramp crew, and your chair rolling back to you exactly how you sent it. In the next 12 months, a few refined habits could turn every airport visit into a familiar rhythm that protects your mobility and your time. Which step in your wheelchair travel checklists will you personalize first to make your next flight feel effortless?
Additional Resources
Explore these authoritative resources to dive deeper into wheelchair travel checklists.
Master Wheelchair Travel Checklists with Go Wheelchairs
Explore a wide range of standard and heavy-duty motorized wheelchairs, plus guidance on Medicare and insurance, so you move forward with confidence and independence.