If you have ever felt that flying with a wheelchair requires a playbook, you are not alone. This guide packages wheelchair travel tips and checklists into one friendly place, so you can plan, fly, and land without guesswork. We will walk through Transportation Security Administration screening, Federal Aviation Administration battery rules, and Medicare coverage details in plain language. Along the way, we’ll share practical tips and examples drawn from common experiences at airport checkpoints and gates, so you can skip the stress and keep the joy.
At Go Wheelchairs, we hear the same concerns every week: Will my chair be safe, how do batteries work on planes, and what paperwork should I bring for coverage and support. The good news is that predictable steps make a huge difference. Think of this as your co-pilot for the entire journey, from booking and packing to boarding and baggage claims. Ready to feel prepared and in control.
Wheelchair Travel Tips and Checklists: Your 12-Step Game Plan
-
Book like a pro and talk to the airline right away
When you buy tickets, call the airline’s special assistance team the same day. Ask them to record the exact wheelchair make, model, size, weight, and battery type, and request preboarding plus an aisle chair if you need one. Direct flights reduce transfers and the risk of damage, and a longer connection time gives ground crews breathing room to load your chair safely.
Pick seats strategically. An aisle seat near the front shortens transfers and makes returning to your chair at landing faster. If you are traveling with a caregiver, ask to sit together for smoother transfers. A five-minute booking call saves headaches at the airport, and agents are often happy to attach notes that set you up for success.
-
Document your device and prep a one-page handoff sheet
Create a one-page instruction sheet for baggage handlers that shows how to put your chair in freewheel or manual mode, where the brakes are, how to remove the joystick, and any fold points. Add photos and arrows for clarity, then tape a laminated copy on the chair. Keep a second copy with your ID just in case.
Back this up with a quick phone photo album: wide shots, close-ups of the joystick, battery label, and serial number. If anything happens, you will have time-stamped images to support a claim. While exact industry-wide estimates vary, easy instructions and clear documentation are your best protection.
-
Use TSA Cares and arrive with time to spare
Call TSA Cares [Transportation Security Administration Cares] at least 72 hours before your flight to request a Passenger Support Specialist. At the checkpoint, you can ask for a private screening, a same-gender officer, and a manual pat-down instead of standing or transferring. Tell officers what parts of your chair are sensitive and cannot be lifted or pressed.
Medical liquids, nutrition, and gel packs are allowed in reasonable quantities, even above standard limits, when declared. Bring them in a separate bag and tell the officer upfront that they are medically necessary. The Transportation Security Administration team does this all day, and a calm, clear script from you makes it faster for everyone.
-
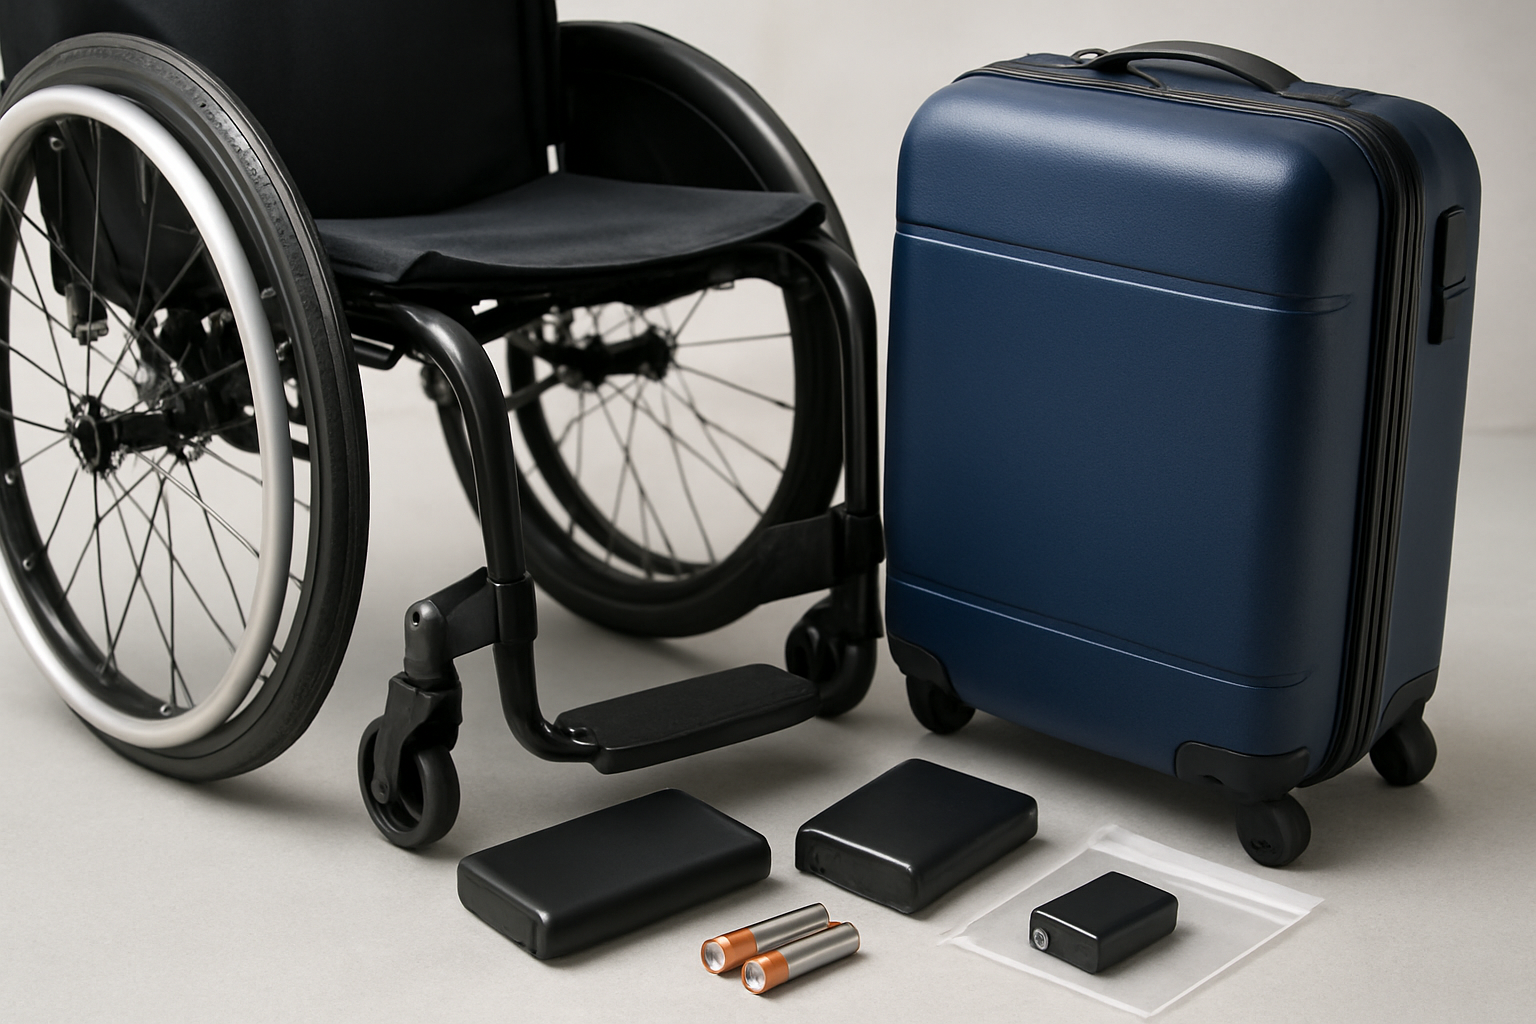
Know your battery type and the airline’s rules
Batteries matter in aviation. Sealed lead-acid and gel batteries are typically treated as non-spillable and can remain installed. Lithium-ion batteries depend on watt-hours, which is the capacity rating printed on the label. If your battery is detachable, most airlines require it in the cabin inside a protective case with terminals taped and power switch covered.
Print the manufacturer’s battery sheet and keep it with your travel documents. The Federal Aviation Administration [FAA] and the International Air Transport Association [IATA] both publish guidance that airlines follow, and having your specs in hand prevents last-minute confusion at the gate. When in doubt, bring a spare protective bag and tape for terminals.
-
Wrap, remove, and tag to protect your joystick and frame
Before you hand off your chair at the aircraft door, remove the joystick or control module if it can detach, and pad fragile points with soft foam or bubble wrap. Zip ties or Velcro straps prevent footrests and armrests from swinging. Put your name and phone number on every detachable part using durable luggage tags.
Ask to keep the chair upright during loading when possible. A bright tag that reads Handle With Care and Do Not Lift By Armrests helps. The reality is that busy ramp crews move quickly; high-contrast instructions and a snug wrap can turn rough handling into safe handling.
-
Plan your transfer choreography at the gate
Tell the gate agent how you prefer to transfer and what help you need. Preboarding allows you to move without the crowd and gives crew time to store your chair correctly. If you use an aisle chair, remind staff about straps, footrests, and any pressure points to avoid during the move.
Before you transfer, put the chair in freewheel or manual mode and remove delicate components. Confirm with the agent that your chair will be returned to the jet bridge at arrival, not sent to standard baggage. A quick confirmation prevents that sinking feeling of watching the carousel while your chair is somewhere else.
-
Create a damage and delay backup plan
Bring a lightweight backup mobility option if you can, like a compact manual chair or cane. Pack a small tool kit with a hex key set, duct tape, zip ties, and spare fuses for quick fixes. Keep the airline’s Complaint Resolution Officer contact handy, and ask for that person immediately if anything goes sideways.
If damage occurs, photograph everything before moving the chair. File a written report at the gate and at baggage services before leaving the airport, and request a loaner chair if needed. The Air Carrier Access Act [ACAA] requires airlines to repair or replace damaged assistive devices; having details on paper speeds that process.
-
Pack a pressure relief and comfort kit for the cabin
Bring your seat cushion if it helps with pressure management. Set a phone timer for pressure relief shifts, and ask a travel companion or crew to remind you if needed. Hydration helps circulation, and aisle walks or in-seat exercises can be great if they are safe for you.
Carry noise-canceling headphones, a light blanket, and a small foot sling if it improves comfort. If onboard restrooms are a barrier on longer flights, plan fluid intake and speak with crew about timing. Comfort is not a luxury; it is part of your safety plan.
-
Build a medical and tech pouch you never check
Medications, chargers, and critical tech should live in your carry-on. Pack prescriptions in original containers with labels, and add a short doctor’s note for items that might raise questions. A multi-plug adapter, power bank, and travel extension cord can rescue low-battery moments at crowded gates.
Include spare joystick knobs, a control cable if detachable, and a compact rain cover. Stash a printed list of your current meds, allergies, and emergency contacts. If things get hectic, the pouch becomes your tiny command center.
-
Know your rights under the Air Carrier Access Act
The Air Carrier Access Act prohibits discrimination based on disability in air travel. You have the right to assistance, to travel with necessary medical supplies, and to have your wheelchair returned in the condition you surrendered it. If you hit a snag, ask for the airlines Complaint Resolution Officer by name; every airline must have one available during operating hours.
Bookmark the Aviation Consumer Protection disability page from the United States Department of Transportation on your phone. A quick reference can transform a tense conversation into a short one. Staff are generally helpful, and clear rights language helps everyone do the right thing fast.
-
Clarify coverage and paperwork before you fly
If your chair was funded through Medicare Part B, it counts as Durable Medical Equipment, and that status supports your right to travel with it. Bring proof of ownership, the supplier’s invoice, and any repair coverage details. If you are traveling for a medical appointment, a brief letter of medical necessity can explain extra supplies or equipment.
Go Wheelchairs helps customers gather and organize coverage documents, including summaries for Medicare and other health insurance. Having these pages handy makes airline and security conversations smoother, especially when explaining why a particular part must stay attached or travel in the cabin.
-
Expect international differences and plan accordingly
Outside the United States, rules may reference the International Air Transport Association guidance and local civil aviation authorities. Battery allowances and documentation can vary, especially on smaller aircraft. When booking, ask explicitly about wheelchair loading policies, weight limits, and whether jet bridges are available on your routes.
Print the airline’s mobility device policy and carry it with your battery sheet. If your itinerary involves trains or ferries, look up elevator availability and boarding facts. A few extra minutes online can save an hour of improvising on a platform.
-
Choose the right chair for frequent flying
If you fly often, a lightweight, foldable motorized wheelchair might be worth considering, especially one with a travel-friendly lithium-ion battery that meets airline limits. Heavy-duty chairs shine for higher weight capacities and rugged durability, while standard motorized models balance comfort and cost. Your pick should match your body, daily terrain, and travel frequency.
Go Wheelchairs offers a wide range of standard and heavy-duty motorized wheelchairs plus compact, foldable options. Their team can help you compare models, battery types, and airline compatibility, factoring in Medicare and insurance pathways. The right match today means easier trips for years.
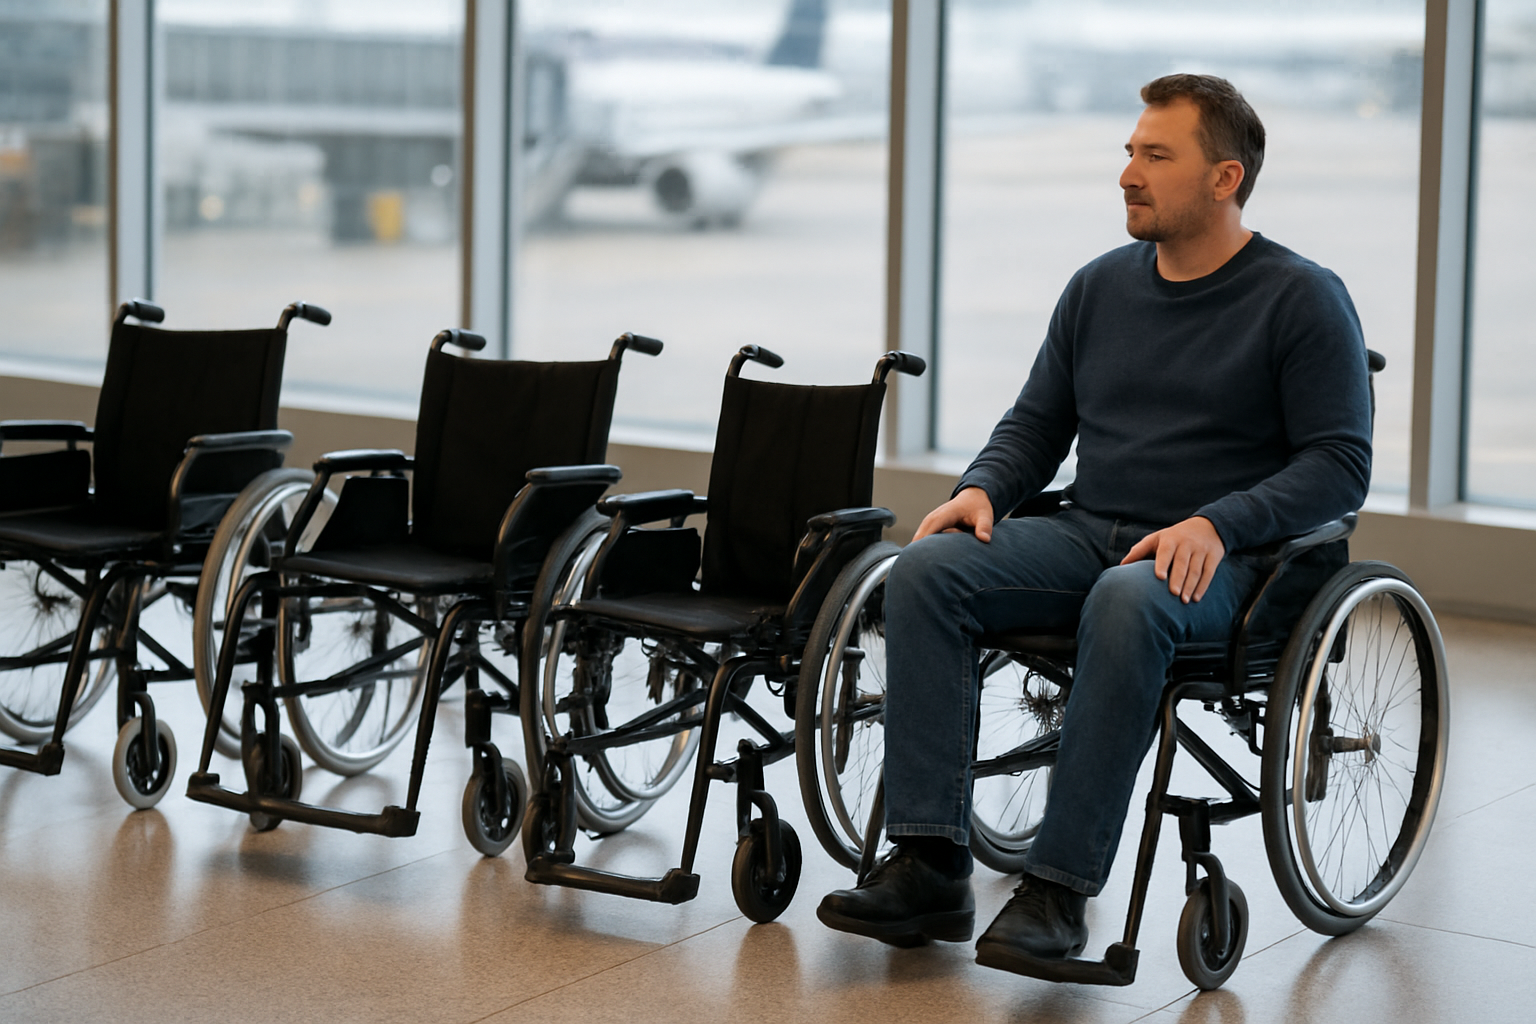
TSA [Transportation Security Administration] and Airport Security: What to Expect
Security is predictable when you know the script. You can ask for a Passenger Support Specialist, request a private area, and stay seated in your chair during screening if a transfer is not safe. Officers will swab your chair for explosives and conduct a pat-down, and they should explain each step before doing it. If something does not feel right, pause the process and ask for a supervisor or the Passenger Support Specialist to re-brief the team.
Watch This Helpful Video
To help you better understand wheelchair travel tips and checklists, we’ve included this informative video from The Travel Scouts. It provides valuable insights and visual demonstrations that complement the written content.
| Step | What Happens | Your Rights | Time Estimate |
|---|---|---|---|
| Check-in | Airline records chair details and notes assistance needs. | Ask for preboarding and gate delivery of your wheelchair. | 5 to 10 minutes |
| Security screening | Pat-down while seated, chair swab, bag screening. | Private room on request, same-gender officer, clear explanations. | 10 to 20 minutes |
| Gate arrival | Confirm preboarding and aisle chair timing. | Priority boarding to allow safe transfer and stowage. | 5 to 15 minutes |
| Arrival gate | Chair brought to jet bridge, quick inspection by you. | Right to immediate report if damage is found. | 5 to 15 minutes |
Little language goes a long way. Try, I would like to remain seated for my screening, my joystick is a sensitive component, and I need a private screening room please. The Transportation Security Administration team appreciates clarity, and these concise phrases set the tone.
Battery Rules at a Glance: Cabin vs Checked and How to Pack
Batteries are the most technical part of air travel with a power chair. The Federal Aviation Administration and the International Air Transport Association set guidance that airlines use to approve carriage. Airline policies can differ in details, so print your carrier’s mobility device page and travel with the battery’s watt-hour rating and manufacturer’s sheet. When the facts are on paper, the conversation gets easy.
| Battery Type | Typical Use | Installed on Chair | Carry-on Allowed | Checked Baggage Allowed | Traveler Tips |
|---|---|---|---|---|---|
| Sealed lead-acid or gel | Many standard and heavy-duty power chairs | Usually yes if non-spillable and secured | Not typically needed when installed | Yes if installed and protected from activation | Print non-spillable statement from the manufacturer |
| Lithium-ion detachable pack | Lightweight or foldable power chairs | Often must be removed | Yes, within airline watt-hour limits | No, spares usually not allowed in checked | Terminals taped, in protective case, label facing out |
| Lithium-ion integrated | Some compact power chairs and scooters | Airline specific, depends on design | Sometimes a spare allowed within limits | Varies, often not when removed | Carry the technical sheet and removal instructions |
Three quick packing habits pay off. First, turn the chair fully off and engage any travel lock if present. Second, cover or tape terminals for any battery you remove. Third, place a printed note on the battery with the watt-hour rating for fast verification. This is one area where a few minutes of prep can save an hour at the counter.
Medicare Coverage, Insurance, and Paperwork Prep
Coverage details are not just for buying the chair. They also help justify medical supplies in your carry-on, explain why a battery must travel in the cabin, or support a loaner request if the airline damages your device. Medicare Part B views most power chairs as Durable Medical Equipment, and suppliers should provide documentation you can bring when flying. Airlines cannot refuse safe transport but they can ask for clarity, so give them a clear, simple packet.
| Topic | What to Bring | Why It Helps | Notes |
|---|---|---|---|
| Proof of ownership | Supplier invoice, serial number photo, and warranty summary | Confirms it is your medical equipment and how to identify it | Keep digital copies on your phone and paper copies in your bag |
| Medical necessity | Short doctor letter stating you rely on the device for mobility | Supports exceptions like carrying certain parts in the cabin | Helpful for international trips where norms differ |
| Battery spec sheet | Manufacturer’s page showing watt-hour rating and safety info | Speeds airline approval for lithium-ion packs | Print two copies in case one gets handled at the gate |
| Repair and loaner info | Supplier contact and coverage terms | Faster action if something is damaged en route | Ask for a 24-hour contact from your supplier |
Go Wheelchairs helps customers assemble a simple travel binder and digital folder that includes all of the above. The team also explains how Medicare and other insurance can support repairs after airline damage in coordination with the airlines obligations under the Air Carrier Access Act. A few pages of paper can become the difference between a disrupted day and a short delay.
Printable-Style Checklists You Can Copy
Checklists keep the brain calm when the terminal is loud and time is tight. Use these as-is or copy them into your notes app. If you travel with a partner, split the tasks so you both have a role.
| When | Tasks |
|---|---|
| 2 to 4 weeks out | Service your chair, verify battery health, and confirm airline mobility policies. |
| 72 hours out | Call TSA Cares [Transportation Security Administration Cares], reconfirm assistance, and print battery and policy sheets. |
| Day before | Charge batteries, pack tool kit and medical pouch, print boarding passes, prep joystick protection. |
| Day of flight | Arrive early, request private screening if desired, remove joystick at gate, place instruction sheet on chair. |
| Arrival | Inspect chair at jet bridge, photograph any issues, file report immediately if needed. |
| Item | Why It Matters | Notes |
|---|---|---|
| Medical pouch | All critical meds on hand | Original labels and paper prescriptions |
| Battery paperwork | Faster gate approvals | Watt-hour rating and manufacturer sheet |
| Tool kit | Quick fixes after landing | Hex keys, zip ties, fuses, tape |
| Joystick protection | Prevents the most common damage | Foam wrap, small hard case, or bubble wrap |
| Seat cushion | Pressure relief and comfort | Carry into the cabin if removable |
| ID and documents | Speed through questions | Proof of ownership, doctor letter, policy printouts |
Choosing the Right Chair for Flying: Standard, Heavy-Duty, or Lightweight
There is no one perfect chair for every traveler. Your body, the places you go, and how often you fly all influence what works best. Many travelers keep their primary chair and add a travel-friendly option for certain trips. Here is a quick comparison to help you think through the tradeoffs and to see where Go Wheelchairs can help you decide with confidence.
| Type | Typical Capacity | Travel Convenience | Battery Profile | Foldability | Best For |
|---|---|---|---|---|---|
| Standard motorized | Medium to high | Balanced comfort and size | Often sealed lead-acid or gel | Usually not foldable | Everyday use with occasional flights |
| Heavy-duty motorized | Highest | Rugged but larger for loading | Often sealed lead-acid or gel | Not foldable | Higher weight capacity and tough terrain |
| Lightweight, foldable motorized | Low to medium | Excellent for air travel | Usually lithium-ion with airline-friendly packs | Foldable and compact | Frequent flyers and small spaces |
Go Wheelchairs offers a wide range of standard and heavy-duty motorized wheelchairs as well as lightweight, foldable designs. The team provides personalized support to match your lifestyle and coverage needs, including Medicare and other insurance guidance. Their resources hub includes buying guides, comparison tools, and deep-dive travel tips, so every choice is informed and practical.
How Go Wheelchairs Eases the Whole Journey
Travel confidence starts with equipment you trust and people who have your back. Go Wheelchairs solves the real-world problem many face today: finding an affordable, dependable wheelchair that fits life, travel, and coverage realities. With personalized guidance, the team helps you select models that are airline friendly, clarifies battery rules, and prepares your documentation so airport conversations are short and simple.
- Wide range of standard and heavy-duty motorized wheelchairs plus compact, foldable designs for travel.
- Personalized support and guidance that aligns with your medical, comfort, and travel needs.
- Insurance and Medicare assistance, including help gathering the right proof for flights and repairs.
- Resources hub with buying guides, comparison tools, and wheelchair travel tips you can copy.
If you are weighing tradeoffs or need a travel-ready setup quickly, this is the kind of partner that makes a complicated process feel easy. Your mobility, your schedule, and your peace of mind guide every recommendation.
Lift-Off Ready
You now have the wheelchair travel tips and checklists that turn airport chaos into a repeatable routine. Imagine the next 12 months with direct flights booked, batteries approved at a glance, and your chair arriving intact at the jet bridge. What small step will you take today that your future traveling self will thank you for.
Additional Resources
Explore these authoritative resources to dive deeper into wheelchair travel tips and checklists.
Travel Smarter With Go Wheelchairs
Explore a wide range of standard and heavy-duty motorized wheelchairs with guidance that helps individuals secure coverage and move forward with confidence and independence.